Describe an image you want to create, or start with a reference picture. Explore image models and develop your idea through composition, color, light, and detail.
0 / 5000
Prompt, files, and settings stay in this browser for 24 hours.
The exact credit amount is shown before generation.
Finished images will be delivered privately to your account.
Explore original studio studies in composition, color, light, and material. Use them as inspiration for your own idea.
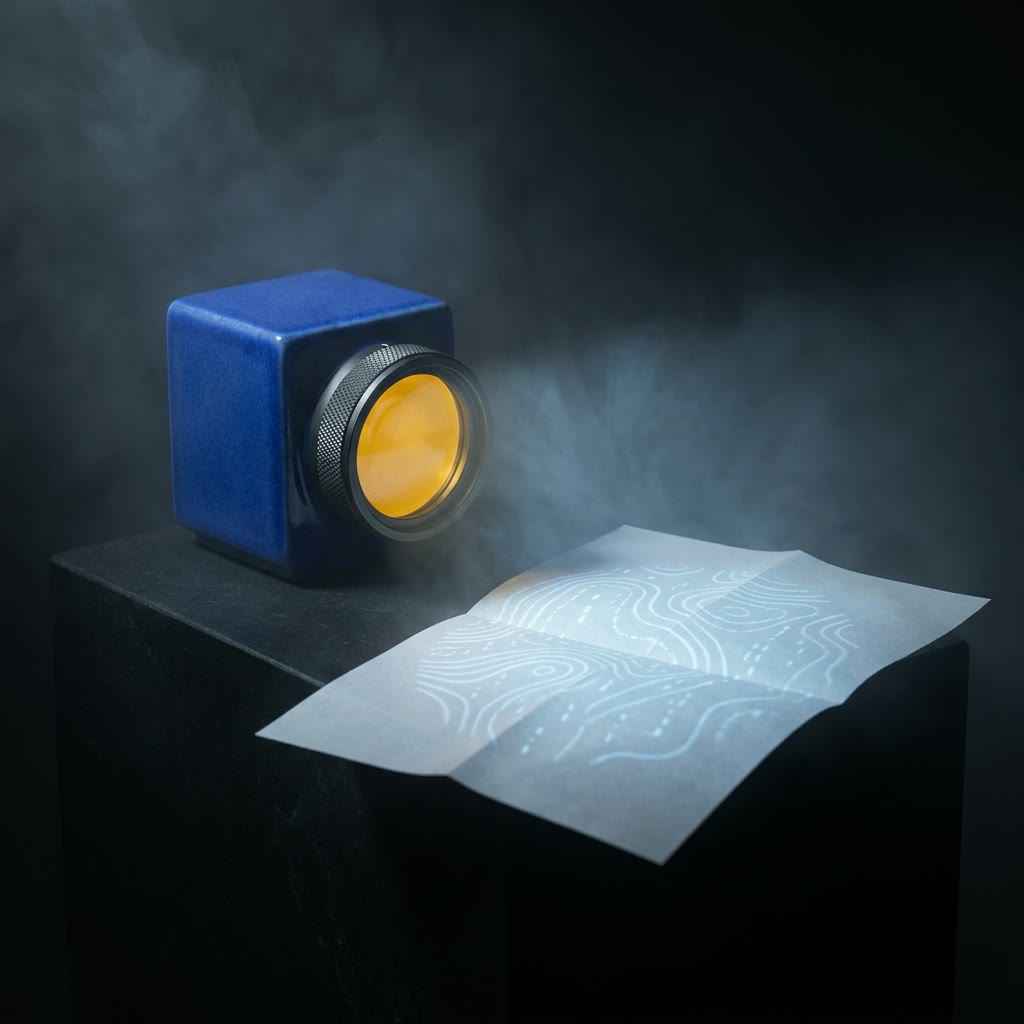
Text to image · Nano Banana ProA text-led image study with a clear subject, palette, light source, and setting.
Creative paths
Create from a prompt or a reference
Begin with words when you want to invent an image. Add references when you have a visual direction to work from.
Build an image from an idea
Describe the main subject, the setting, and the look you want. Include details that affect the result, such as the viewpoint, lighting, colors, or space around the subject. A focused description makes it easier to decide what to change after your first result. Use this path to explore an illustration, a still life, or a visual concept before committing to a direction.
Develop a direction from reference images
Add a reference and describe what you want to keep or change. You might explore a different background, material, or overall style. When using several references, explain how they relate to the image you want to make. References guide a new result; they do not guarantee that every detail will stay identical. Check important shapes, text, and subject details after generation.
Three steps
Create your first image
01
Describe your idea
Write what you want to see. Add reference images if you are starting from an existing visual direction.
02
Choose your model and settings
Select an image model, then review the available aspect ratio, resolution, and other output options.
03
Generate and refine
Check the credit amount before generating. Review the image, then adjust one part of your description at a time to explore another result.
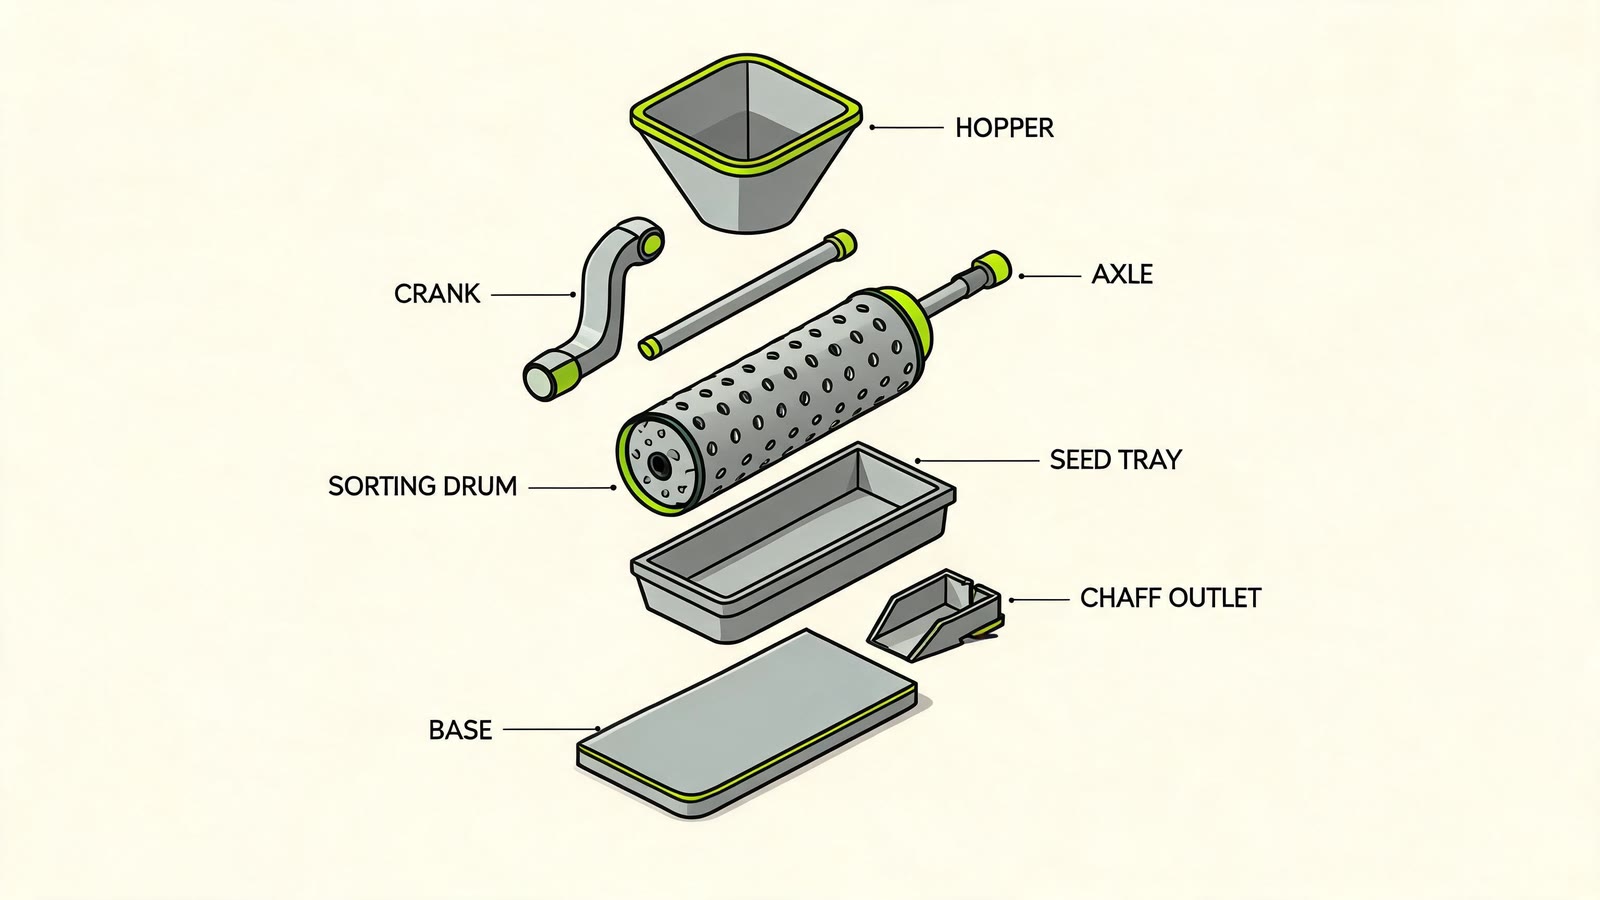
Text to image · Seedream 5.0A wide technical composition that reserves space for readable labels and separated parts.
Uses and creative decisions
Shape the image around its purpose
Choose the format and level of detail around what the finished image needs to communicate.
Explore a product or material direction
An image can help you explore how an object might look in a different setting or finish. Begin with a clear description or a reference you are allowed to use, then identify the visual change you want. Check the result for changes to the object's shape and construction. Treat it as a concept to review rather than an exact representation of an existing product.
Develop an illustration or visual world
Start with the subject and the relationship between the main elements. Then describe the atmosphere, palette, and level of detail. For a quiet illustration, you might want one focal point and open space; a busy scene needs a clearer description of what belongs in the foreground and background. Decide which details are essential and which the model can interpret more freely.
Compose for a layout
Consider the space the image will occupy: a tall cover, a square post, or a wide presentation slide. Choose the aspect ratio before refining smaller details. If you plan to add a headline or other exact copy later, describe an area of open space. Check the composition at the size where people will actually see it, not only in the enlarged preview.
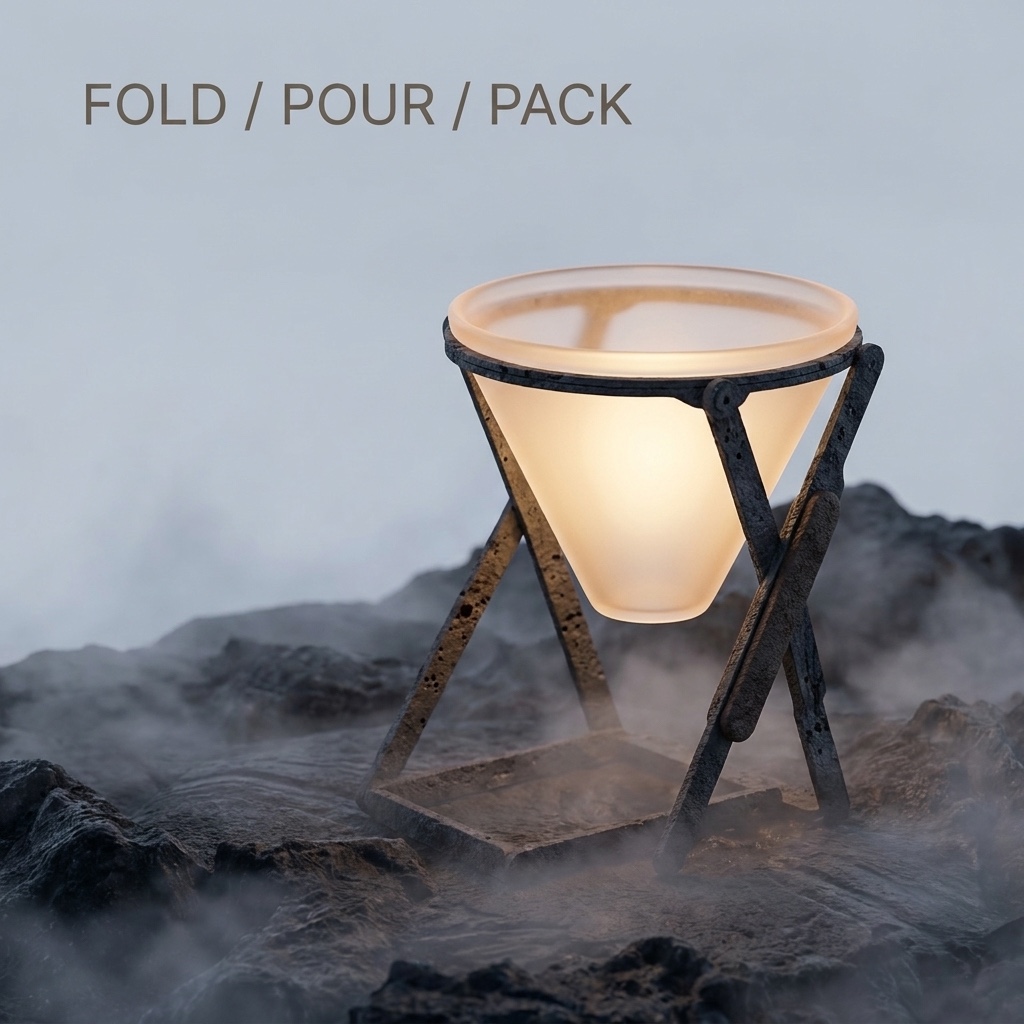
Reference-led image · Nano Banana ProA reference-led result to check for object shape, material, lettering, and composition before use.
Review and refine
Review the details that matter
First check whether the image communicates your idea. Is the main subject easy to identify? Does the lighting support the mood? Are there distracting objects or awkward overlaps? Then inspect details such as hands, repeated shapes, edges, and any visible lettering. A polished overall appearance can still contain small errors that need another version or a separate editing step.
Inspect the image at full size
For reference-based work, compare the result with the original and decide which changes are acceptable. If a particular feature must remain exact, do not assume it survived just because the general resemblance is strong. Keep your next request focused: adjust the background, simplify the composition, or clarify one important detail. A specific revision gives you a clearer basis for judging the next result.
Prepare a useful reference
Choose an image where the subject and relevant details are easy to see. A tightly cropped picture may leave the model guessing about missing parts. When several references show conflicting colors or viewpoints, explain which direction you want to follow. More references are not automatically more helpful: select the images that contribute something specific to the result, and stay within the chosen model's upload limit.
Plans for image and video
Pricing
Annual plans are billed upfront. The same plan credits refresh every 30 days and expire at the end of that window; unused subscription credits do not roll over.
Free
$0/ month
Explore the workspace and prepare a first request before choosing a paid plan.
01Can I create an image without uploading a reference?+
Yes. Start with a text prompt describing the image you want. References are useful when you already have a subject, composition, or visual direction to work from.
02How many reference images can I add?+
The limit depends on the selected model and mode. Use the upload control to check the allowed number before adding your images. Changing models can change that limit.
03Will the result preserve everything in my reference?+
Not necessarily. Describe the details you want to preserve and the changes you want to explore. Review the result carefully, especially when exact shapes, lettering, or identity matter.
04Can I choose the image size and format?+
Choose from the output options shown for your selected model. Aspect ratio, resolution, format, and image count vary by model and mode; not every combination is available.
05How do I choose an image model?+
Start with your task: creating a new image, working from references, or exploring a particular kind of output. Check the model page and the options available in the generator. Try to keep your brief focused so you can judge whether the result suits your needs.
06Can I revise an image I have generated?+
Yes. Open your available image result and choose Continue editing to start a new reference edit with that image. Describe the change you want and what should stay recognizable, then check the model and credits before generating. You can also upload an image from your device. The original result stays in your history.
07How much does image generation cost?+
The credit amount depends on the selected model and settings. Check the amount shown before generating, particularly after changing resolution or the number of images.
08Can I turn an image into a video?+
Yes. Open your available image result and choose Animate image to bring it into an image to video draft. Describe what should move, choose a supported model, and check the credits before generating. You can also upload a picture from your device. The video is a separate result; your original image stays in history.
Next idea
Give your next image a starting point
Write a new idea or bring a reference. Choose the direction you want to explore next.