Create a scene from words or guide an edit with your own images. Select the version, choose your output settings, and review the estimate before generating.
0 / 5000
Prompt, files, and settings stay in this browser for 24 hours.
The exact credit amount is shown before generation.
Finished images will be delivered privately to your account.
Created with Grok
Explore a scene with Grok Image 2
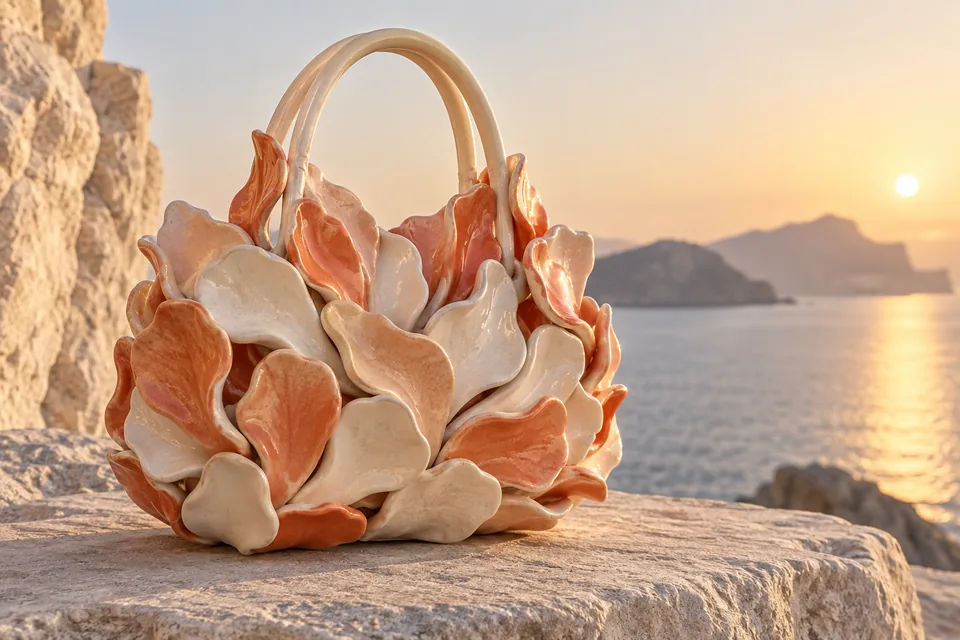
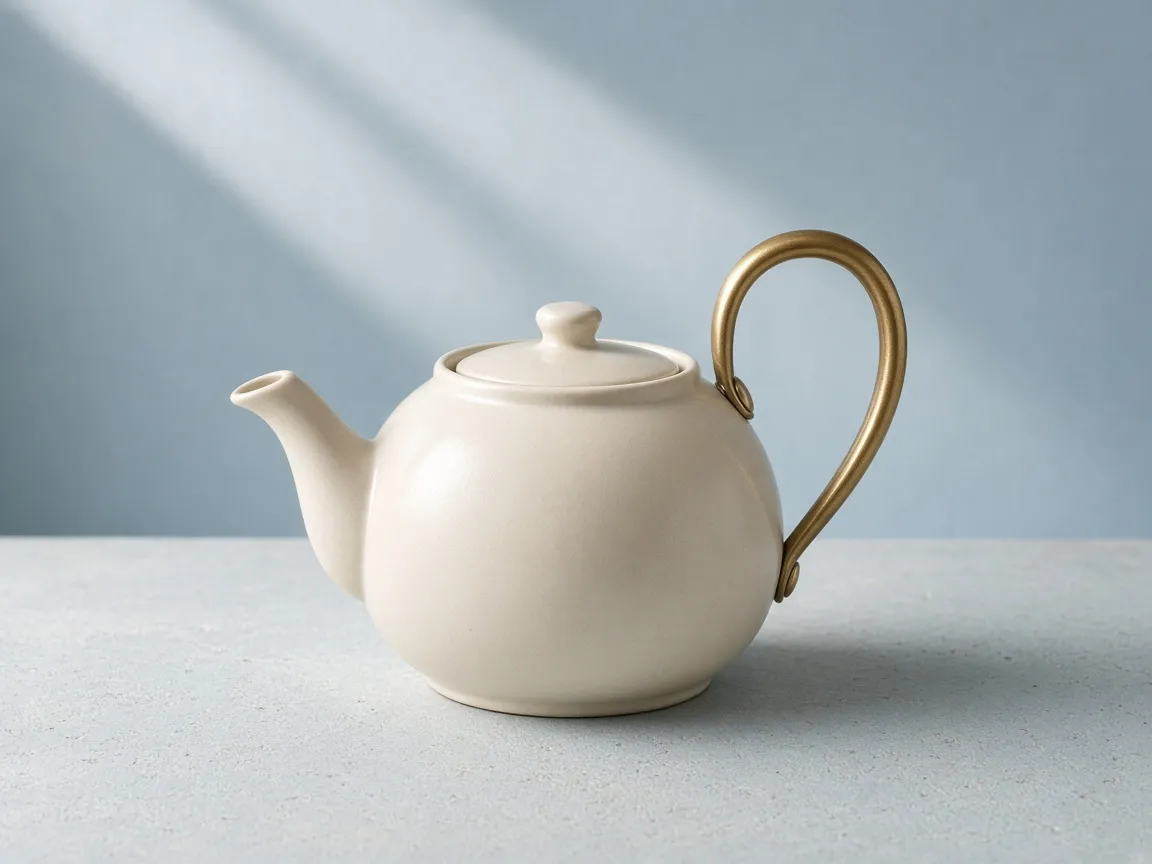
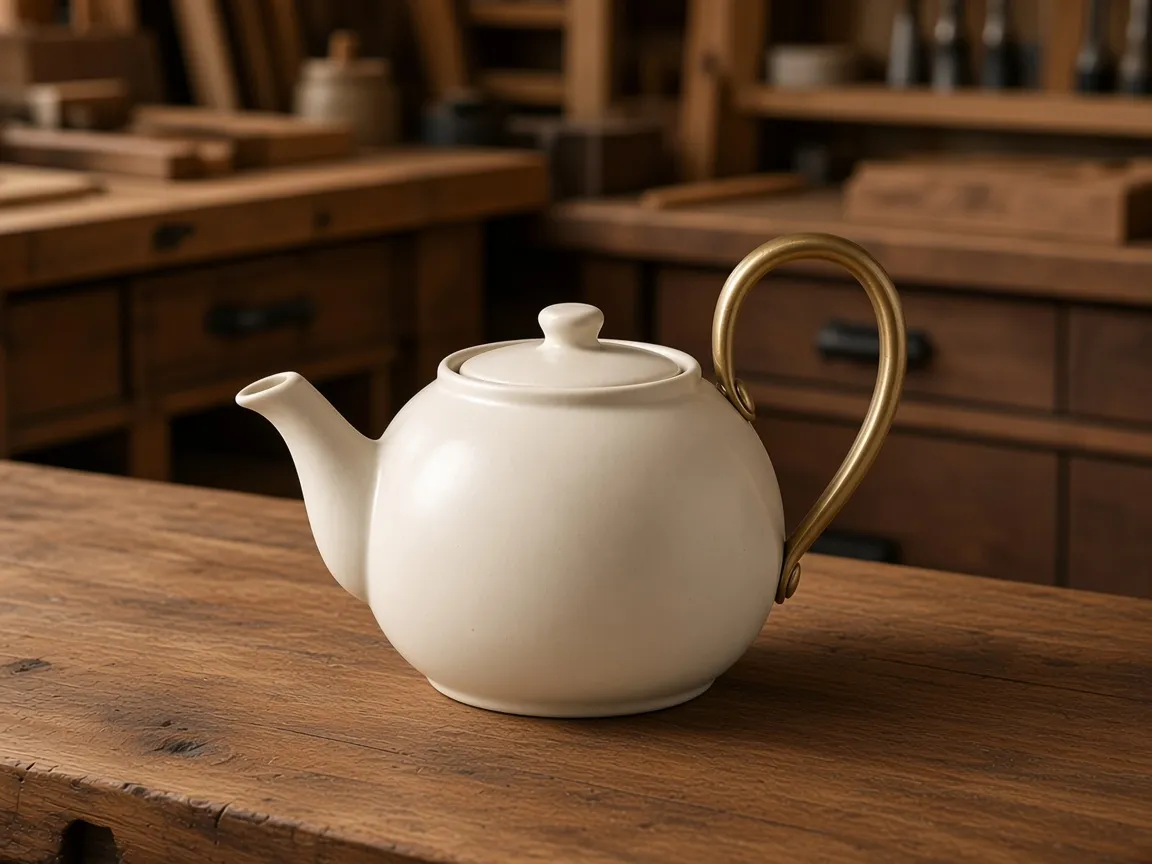
Ceramic and brassCreated with Grok Image 2 · 1K, Low quality. A product concept generated from text.
Create from text
Turn a visual idea into a picture you can assess
Grok Imagine Image 2.0 supports image creation from text and editing with one to three reference images. Start from words when the subject, setting, and composition are still open. Use references when an existing object, character, or location should guide the result. A useful brief explains what you want to see, where it belongs in the frame, and which details matter. The result is a picture to review and refine; it is not a guarantee that every requested detail will be reproduced exactly.
Give an original scene a focal point
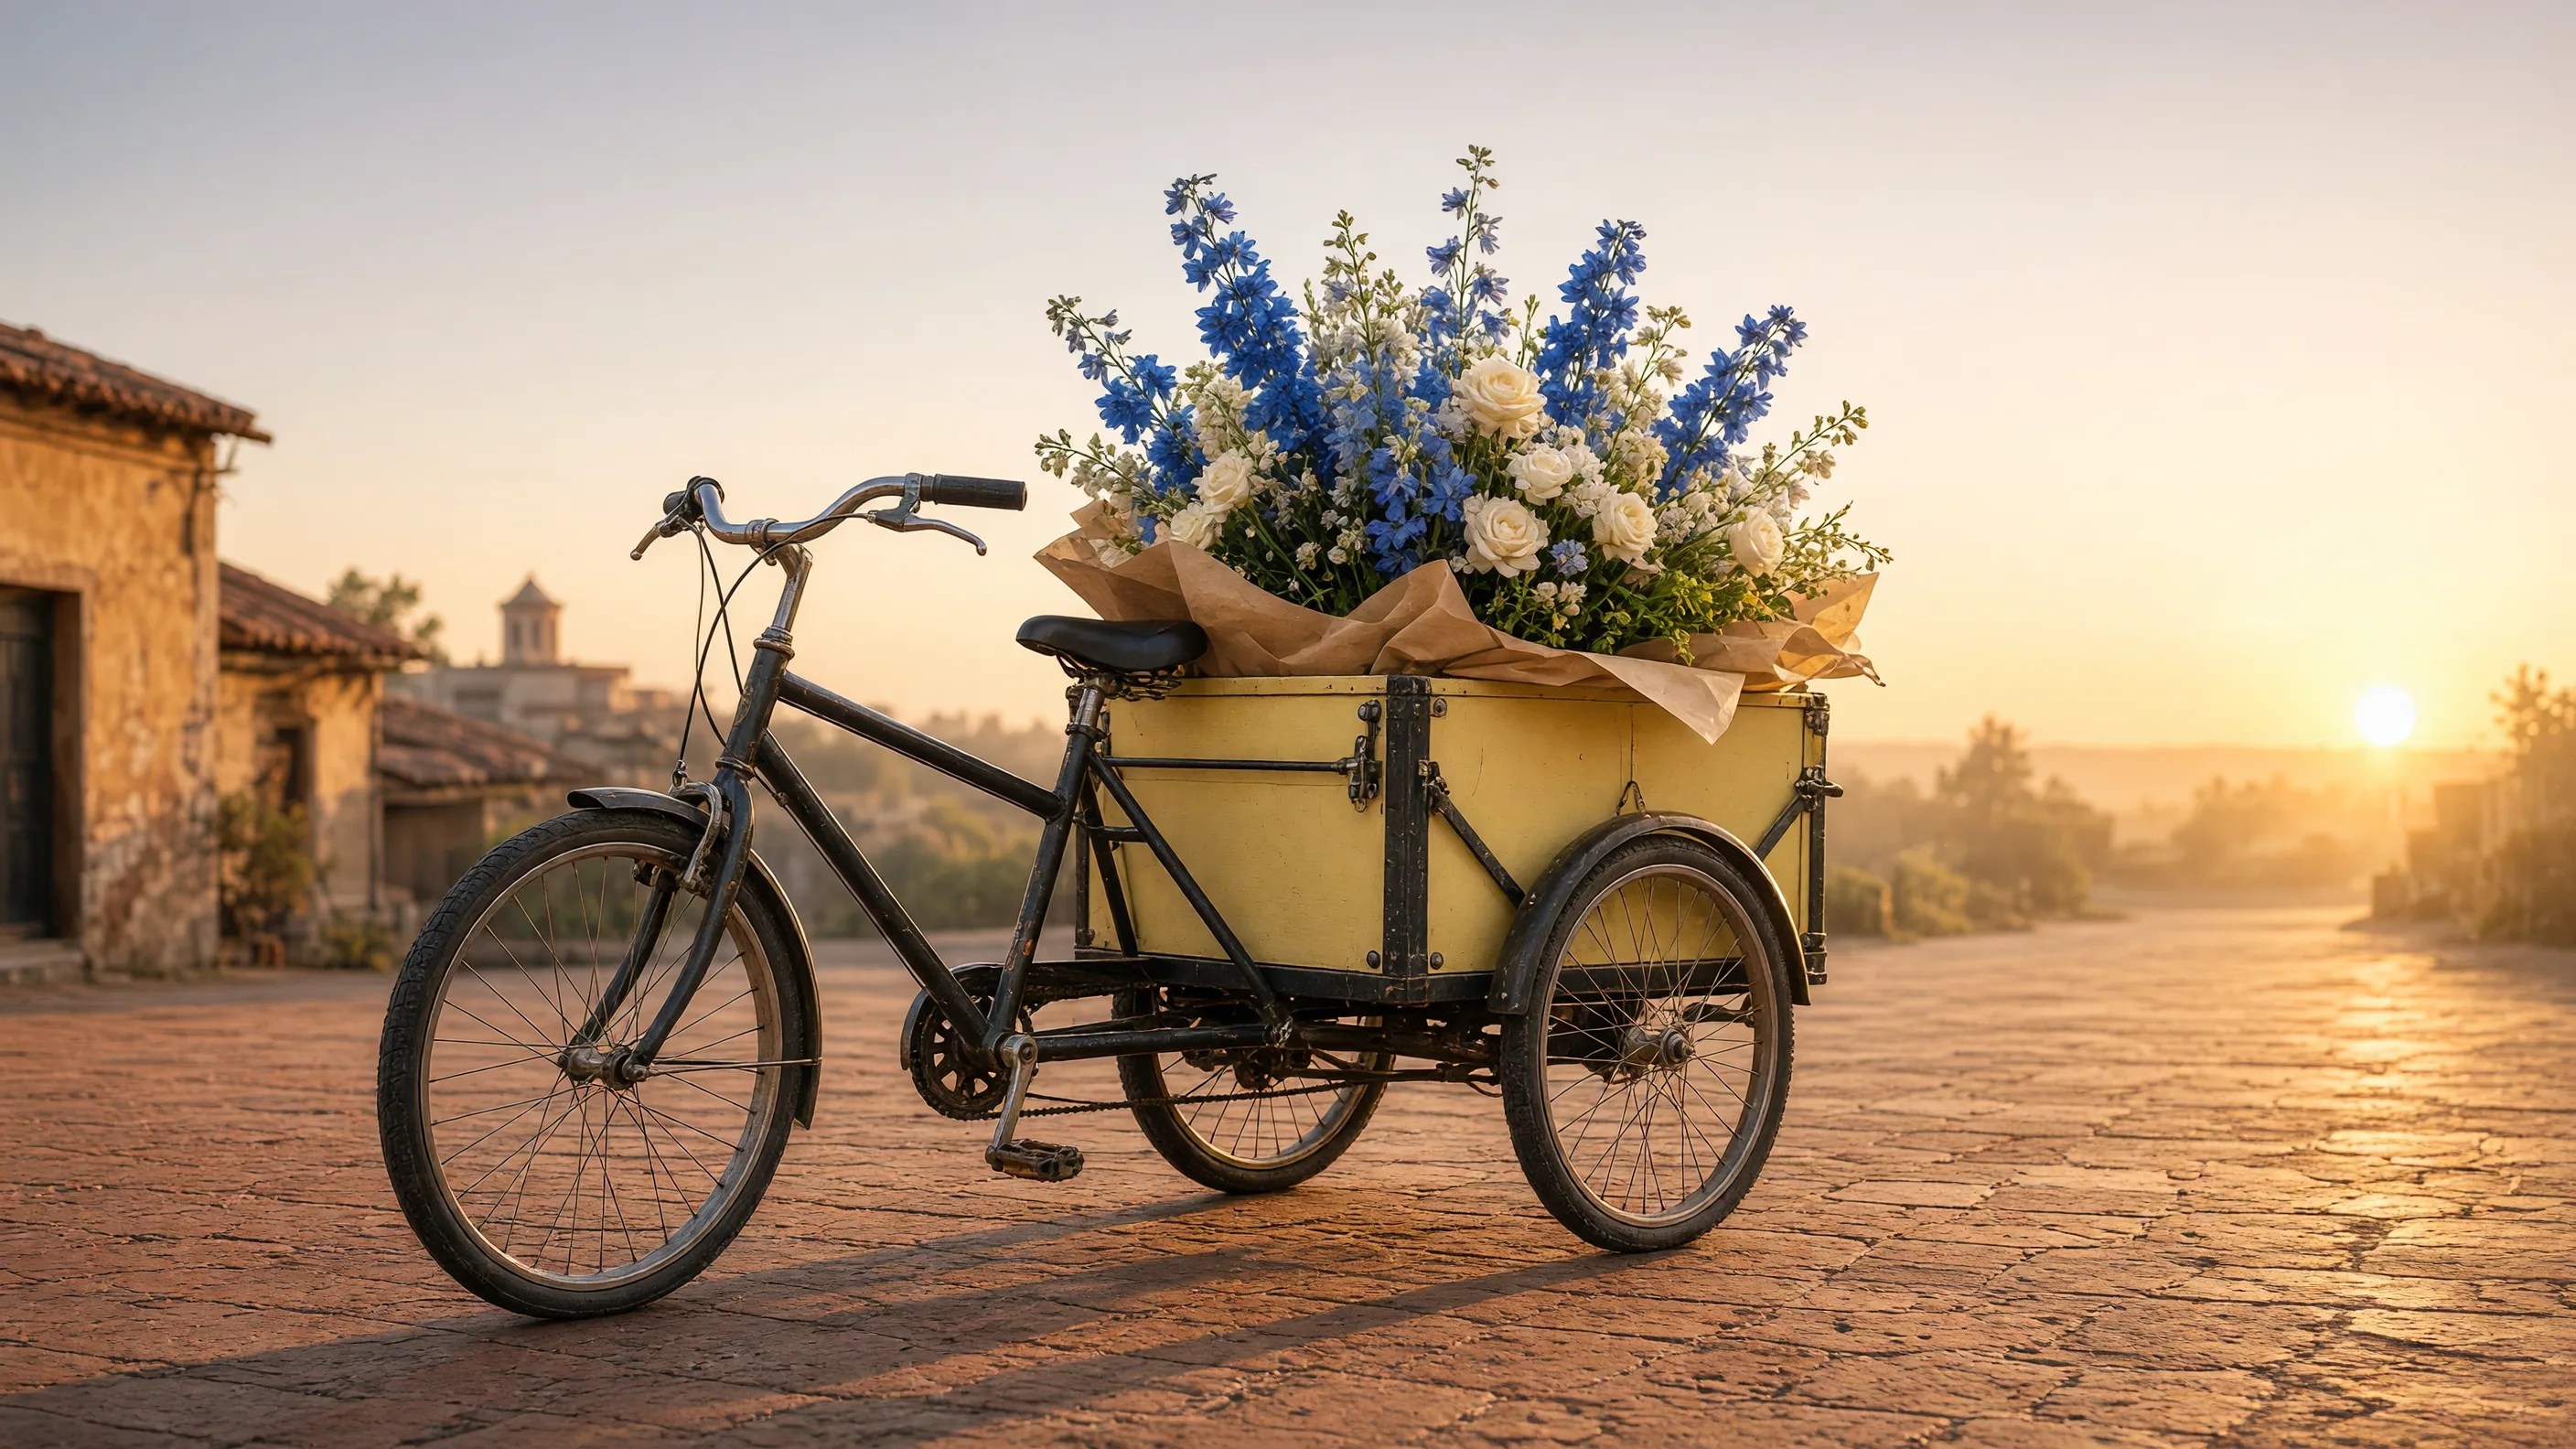
Describe the main subject before adding atmosphere. An unusual delivery vehicle moving through a flower-filled street is a clearer starting point than a collection of unrelated style words. Explain the viewpoint, the scale of the subject, and the surrounding space. Add lighting and material details that support that composition. When the scene has several objects, say which one should draw attention first. Inspect the output for duplicated items, awkward contact points, and small details that distract from the idea.
Build a product image around recognizable features
Use a reference when an object already has a specific shape or finish. Name the silhouette, material, and important attachments that should remain, then describe the desired setting. Ask for a measured change, such as a different backdrop or lighting treatment, before combining several changes. Compare the output with the source at full size. Packaging text, logos, edges, and reflections can drift, so do not treat a generated image as an exact record of a product without checking it.
Explore environments with a clear viewpoint
For a street, interior, or landscape, describe where the viewer stands and how the space is arranged. A foreground object, a middle-distance subject, and a simple background can make the composition easier to explain. Specify the time of day and the direction of light when they affect the mood. If the image will sit behind a title or interface, request an uncluttered area for that content. Add final text in your layout tool when exact words or spacing matter.
Change the treatment while keeping the idea
A reference can help you explore an illustrated, photographic, or crafted version of the same concept. Describe the visual treatment and identify the parts that should stay recognizable. Avoid asking for a style change, a new camera angle, a different pose, and a replacement background all at once when you need tight control. Review one useful change first. A simpler next request makes it easier to understand what improved and what still needs adjustment.
Original imageCreated with Grok Image 2. The source used for the background edit.
A workshop settingCreated with Grok Image 2 · 1K, Medium quality. One reference guided the new setting; compare details with the original.
Edit with references
Explain how each reference should guide the edit
Image editing accepts up to three reference images. Each one should contribute something clear: the subject to keep, a setting to explore, or a visual treatment to try. Describe the relationship between them in the prompt. Uploading several images does not automatically produce a precise composite, and references with conflicting viewpoints or lighting may be harder to combine. Use the fewest images that communicate the job and compare the result with all of them.
Prepare clear source images
Choose images in which the relevant subject is visible and large enough to inspect. Crop distracting material before uploading if it should not influence the result. A clean view of an object is more useful than a tiny object hidden in a busy photograph. Use material you have permission to edit and keep the originals separately. Generated changes can affect areas outside the main subject, including background details, shadows, and reflections.
Name the edit and the parts to preserve
Write the desired change first, then state what should remain recognizable. For example, replace a plain background with a softly lit workshop while keeping the object’s shape, finish, and viewpoint. Keep the request specific enough that you can compare source and output afterward. If the result changes too much, reduce the number of requested changes or choose a clearer reference. Words such as “identical” do not guarantee an exact copy of every detail.
Choose the frame before judging the composition
The frame shape determines how much space the subject has. A wide ratio can suit a banner or an environment; a portrait frame can suit a vertical placement; a square can work for a compact card. Explain the subject’s position and leave room around important edges. In editing, automatic framing follows the reference-based composition. A different ratio may produce a different arrangement, so check the full result instead of assuming it is the same picture with a new crop.
Review output settings and cost together
Version 2.0 offers 1K and 2K output choices and Low or Medium quality. These options affect the estimate; the original version has different settings. Select the version first, then review the output size, quality, and reference count before continuing. JPEG, PNG, and WebP are available for download. Choosing a larger output does not correct a misplaced object or inaccurate lettering, and choosing PNG does not by itself make the background transparent.
Review each version
Keep version differences and limitations clear
Choose the version deliberately and judge the result against your own brief.
Match the example to its version
The original Grok Imagine Image and version 2.0 share a page, but their settings and costs differ. The examples shown here were created with version 2.0 and retain their Created with Grok attribution. They illustrate particular requests and settings, rather than guaranteeing how another generation will turn out.
Inspect the details that matter
Check faces, hands, repeated patterns, labels, and object proportions in every new result. For work requiring exact wording or geometry, plan a final editing step.
From prompt to picture
How to prepare a Grok Imagine Image 2.0 request
01
Choose the version and workflow.
Select 2.0, then start from text or choose image editing. Add one to three references only when they help explain the desired result.
02
Describe the image or change.
State the subject, composition, viewpoint, and lighting. For an edit, name the change and the important details to preserve.
03
Set the output and review credits.
Choose a frame, 1K or 2K, quality, and file format. Check the estimate again if you change the quality or number of references.
04
Inspect the complete result.
Compare edited details with the sources, check any lettering at full size, and download the file for the next step. A revised generation is a separate request.
Plans for image and video
Pricing
Annual plans are billed upfront. The same plan credits refresh every 30 days and expire at the end of that window; unused subscription credits do not roll over.
Free
$0/ month
Explore the workspace and prepare a first request before choosing a paid plan.
01Can I create an image without uploading anything?+
Yes. Use text-to-image and describe the scene you want. Image editing uses references and requires at least one image. Choose the workflow around the material you already have.
02How many references can I use?+
Image editing accepts one to three references. Explain what each contributes and avoid adding images that contradict the intended scene. More references do not guarantee a more accurate result.
03Are the original version and 2.0 interchangeable?+
They have different output choices and costs. Select the version deliberately and review the settings shown in the generator. Original-version examples do not establish how a version 2.0 request will turn out.
04Why can the estimate change?+
Version 2.0 pricing depends on output size and quality, with an additional cost for each editing reference. Review the current estimate before generating. Check Pricing for plans and the workspace for available credits.
05Can this page generate a video?+
This page creates and edits still images. To animate a finished picture, use an image-to-video workflow and describe the movement you want. That is a separate generation with its own settings and cost.
Your next image
Prepare your next image
Start with a clear scene or a reference you want to change. Choose the version and output settings, then review the estimate before continuing.