Bring a still picture into motion or describe a new scene. Choose the duration and output size, explain the action and sound, and review the estimate before generating.
Start frame
Match first frame
01Switch models without leaving the shared workspace.
02See the final credit cost before every generation.
03Find finished work in your results and history.
Created with Grok Imagine Video 1.5
Small movements in a short scene
Glass, light, and movementCreated with Grok Imagine Video 1.5 from text: a four-second request at 720p.
A paper crane in the breezeCreated with Grok Imagine Video 1.5 from text: a four-second request at 720p.
Direct the movement
Decide what should happen after the first frame
A still image tells you what a scene looks like. A video also needs a change worth watching. Grok Imagine Video 1.5 can begin with one image or a written scene, then generate a short clip with sound. Start by naming the movement: a fabric panel catching the wind, a toy rolling across a table, or a camera approaching a lit window. Give that movement a direction and an ending. This makes the result easier to judge than a prompt that asks for a scene to become cinematic without explaining what happens.
Animate a small, readable action
Choose an action that viewers can understand within the selected duration. A kettle can release a plume of steam while the rest of the kitchen stays still. A small vehicle can enter the frame and stop. Describe the pace and the final position when they matter. Watch how objects touch the ground and interact with each other. Unexpected sliding, changing proportions, and disappearing parts can make an otherwise attractive clip unsuitable for the intended use.
Use camera movement to reveal something
A slow push can make a small detail more prominent; a sideways move can reveal depth or a hidden part of the setting. Decide what the camera should help the viewer notice. If the subject already moves, a fixed camera may be enough. Avoid combining several camera instructions when one would communicate the idea. Check the background as well as the subject: walls, shelves, and reflections can change shape as the generated viewpoint moves.
Give the scene an appropriate sound
Generated audio is included in this workflow. Describe a few sounds that belong to the scene, such as soft rain against a window, a wheel crossing pavement, or a quiet mechanical click. Keep dialogue brief and identify the speaker if you need a spoken line. Listen before selecting the clip. A written request does not guarantee exact pronunciation, timing, synchronization, or music. You can replace or adjust the soundtrack later when the final edit needs tighter control.
Plan a useful opening and ending
A clip intended for a larger edit benefits from a clear opening composition and a moment where the action settles. Say whether the subject should stop, leave the frame, or hold its final position. Leave space for a title that you will add in an editor, rather than relying on the model for a long block of precise text. Review the first and last frames alongside the middle of the shot. An awkward transition at either end can limit how the clip fits with other footage.
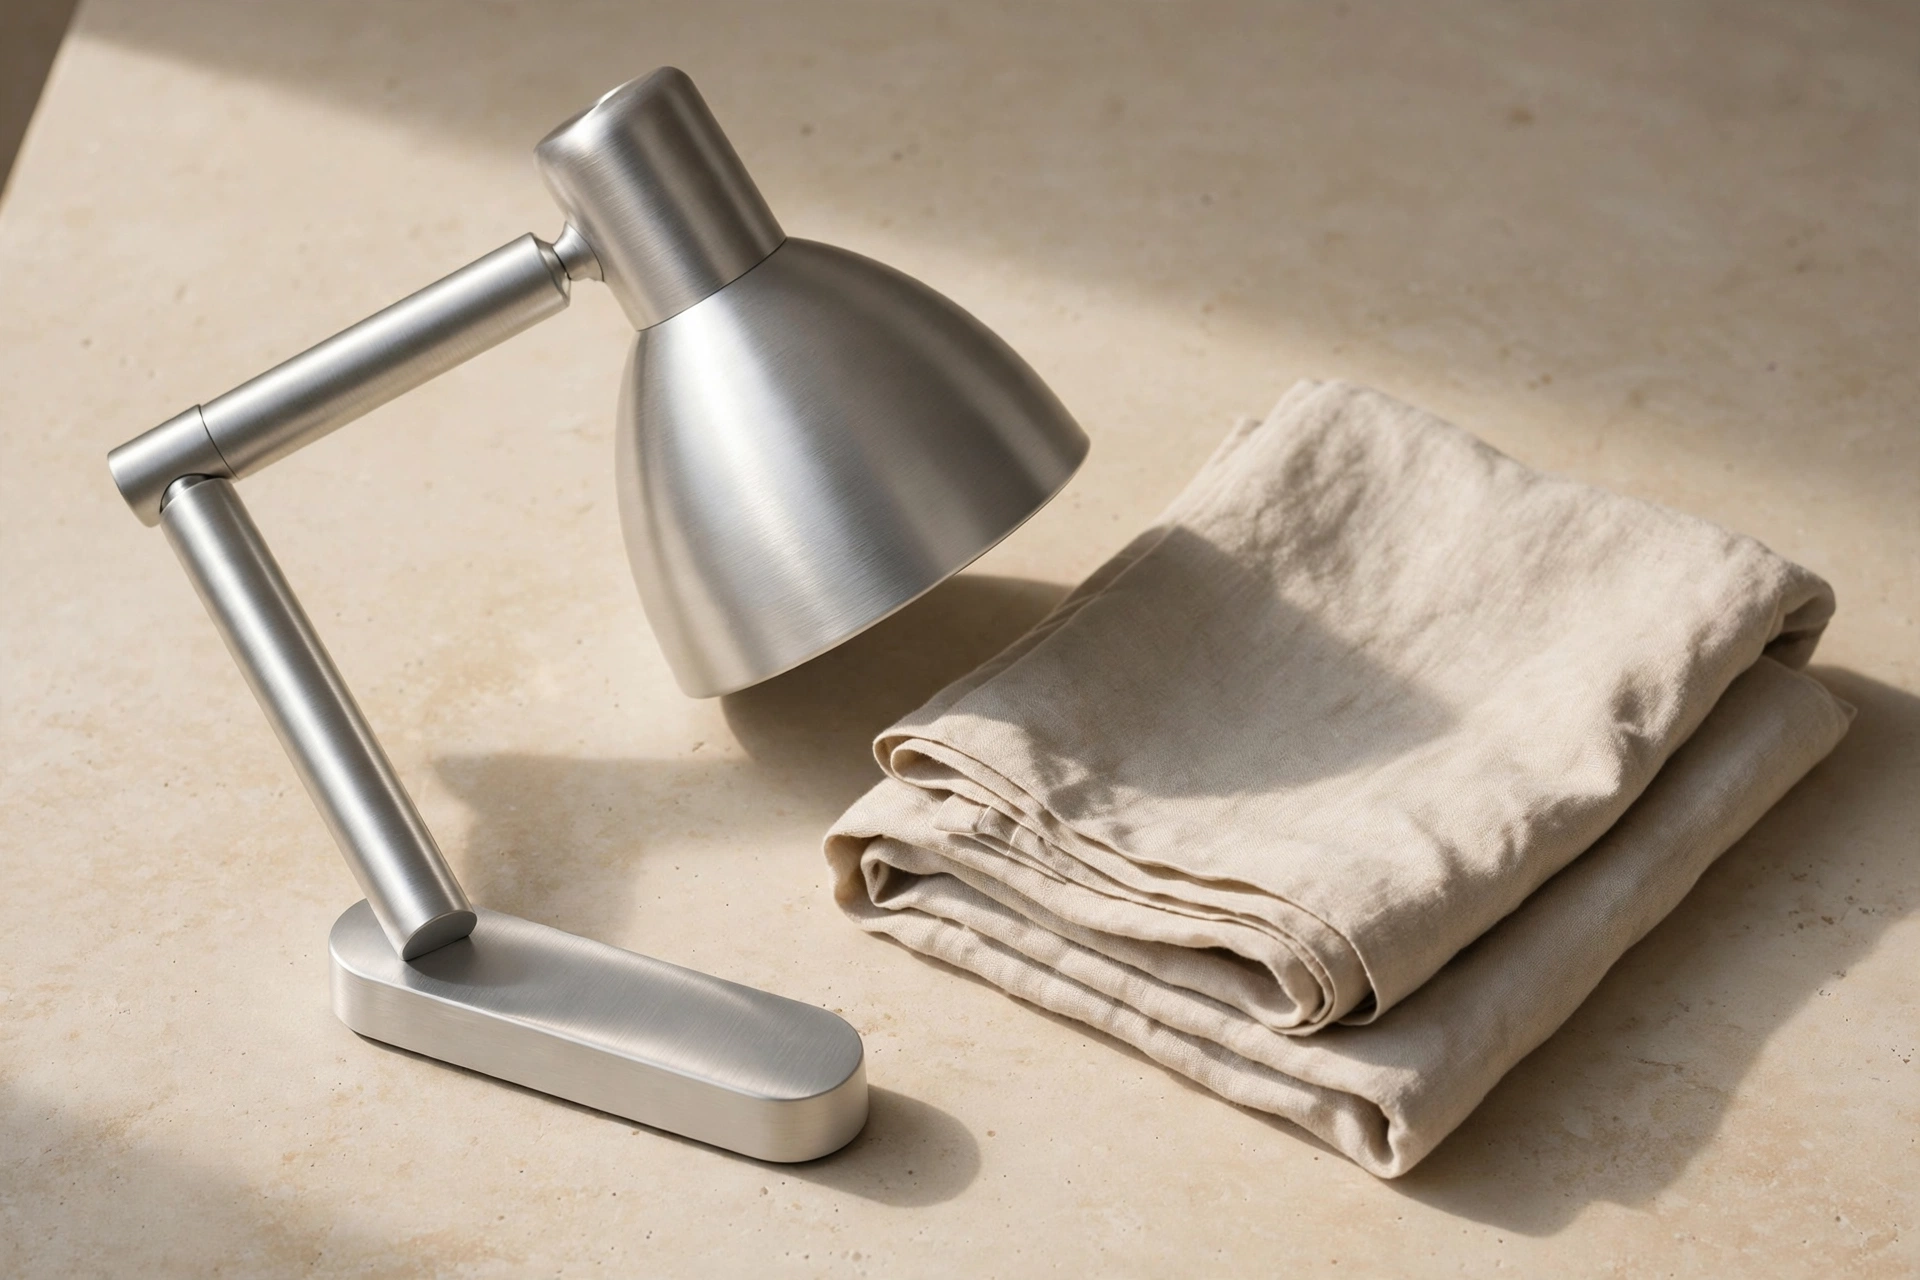
Starting imageStarting image created with Muse Image.Bring a product image into motionAnimated with Grok Imagine Video 1.5 from one image: a four-second request at 720p.
From picture to video
Use one image to establish the starting appearance
Image-to-video accepts a single starting image. Choose this path when you already have the object, character, or composition you want to animate. The picture supplies the initial appearance, while the prompt explains the movement and sound. It is a starting reference, not a promise that every feature will remain identical across the video. Keep the source and compare important details with the output. Text-to-video is useful when you want the model to create the subject and setting together.
Give the subject room to move
A tightly cropped image can leave little space for a turn or camera shift. Choose a source with enough surrounding area for the intended motion and a subject that is easy to distinguish. Check for distorted details before uploading; animation may carry them forward rather than correct them. Use an image you have permission to work with. For a product, inspect the shape, attachments, label, and finish before deciding which view should become the first frame.
Describe motion instead of repeating the picture
The reference already shows colors, materials, and the arrangement of the scene. Focus your prompt on the information that a still image cannot provide: what moves first, how quickly it moves, what stays still, and what is heard. For example, ask for a gentle ripple across a pool with a stationary camera and quiet water sounds. Too many simultaneous changes can make the result harder to assess. Keep the request focused on the action that matters most.
Choose a duration around the action
The available duration runs from one to fifteen seconds. A quick visual accent may need only a brief movement, while a reveal or a spoken line needs more time to develop. Longer is not automatically better. Choose enough time for the action to finish, then check the estimate. If the result rushes or stalls, reconsider the sequence and pacing before making another request. Each new generation has its own cost, even when it uses the same source image.
Match output size to the next use
Choose 480p, 720p, or 1080p according to how you will review and use the result. A smaller output can help you assess motion with a lower estimate. A larger output may suit a presentation or editing workflow, but it does not guarantee more accurate movement or identity. Text-to-video also lets you choose a landscape, square, or portrait frame. With image-to-video, prepare the source composition carefully and check the actual output frame before placing it in your final layout.
Before sharing
Review the entire clip before sharing it
Judge the result as a moving scene, with attention to details that change from one frame to the next.
Check movement and appearance
Watch the video at normal speed and pause where movement changes. Check hands, faces, wheels, repeated objects, shadows, and contact points. Listen for unwanted sounds or unclear speech. When accurate product appearance matters, compare the source with several frames instead of judging only the opening.
Finish the edit in your own tool
The workflow on this page creates a new clip; it does not provide video editing, a multi-image storyboard, or automatic continuation. Use an editor to trim, combine, caption, or adjust finished clips.
Four steps
How to prepare your Grok video
01
Choose your starting material.
Begin with a written scene or add one image. For an image, check the subject and leave space for the intended motion.
02
Describe the action and sound.
Name the movement, camera behavior, and a useful ending. Include only the dialogue or ambience that the short scene needs.
03
Set the duration and output size.
Choose the settings around the intended use, then review the current estimate. Text-to-video also offers a frame selection.
04
Watch, listen, and download.
Check the full clip and compare edited details with the reference. Save a result that fits the job, then use an editor for final assembly.
Plans for image and video
Pricing
Annual plans are billed upfront. The same plan credits refresh every 30 days and expire at the end of that window; unused subscription credits do not roll over.
Free
$0/ month
Explore the workspace and prepare a first request before choosing a paid plan.
This page generates moving video with sound. Grok Imagine Image creates or edits still pictures and has its own model page. Use the image tool first if you need to prepare a new starting picture.
02Can I use several reference images?+
This workflow uses one starting image. Choose the image that best establishes the opening composition. Do not assume that a set of separate pictures will become a storyboard here.
03Can I turn audio off before generation?+
Audio is included, and this workspace does not provide an audio-off setting for this model. Describe the intended sound, then listen to the result. You can mute or replace the track in your editing tool.
04What affects the estimate?+
Duration and output size affect the cost. Image-to-video also includes a charge for its starting image. Review the estimate after changing the settings and check the workspace for available credits.
05Is a larger output always better?+
A larger file can fit a different delivery requirement, but it does not correct a changing face, a distorted object, or an unclear action. Judge motion and consistency separately from resolution.
Your next clip
Put one idea into motion
Choose a starting image or describe a scene, give it a clear action, and review the settings before continuing.