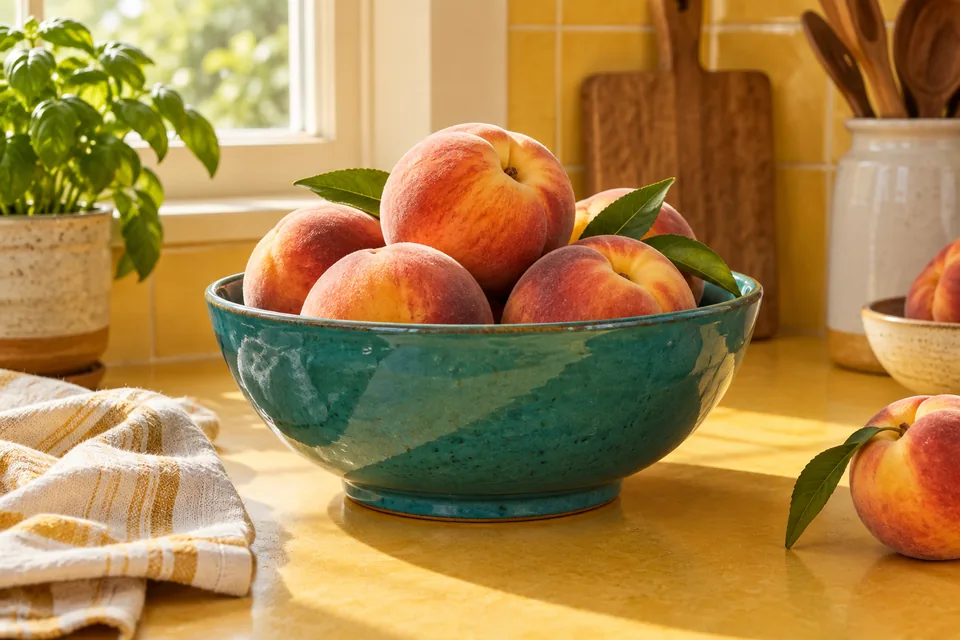
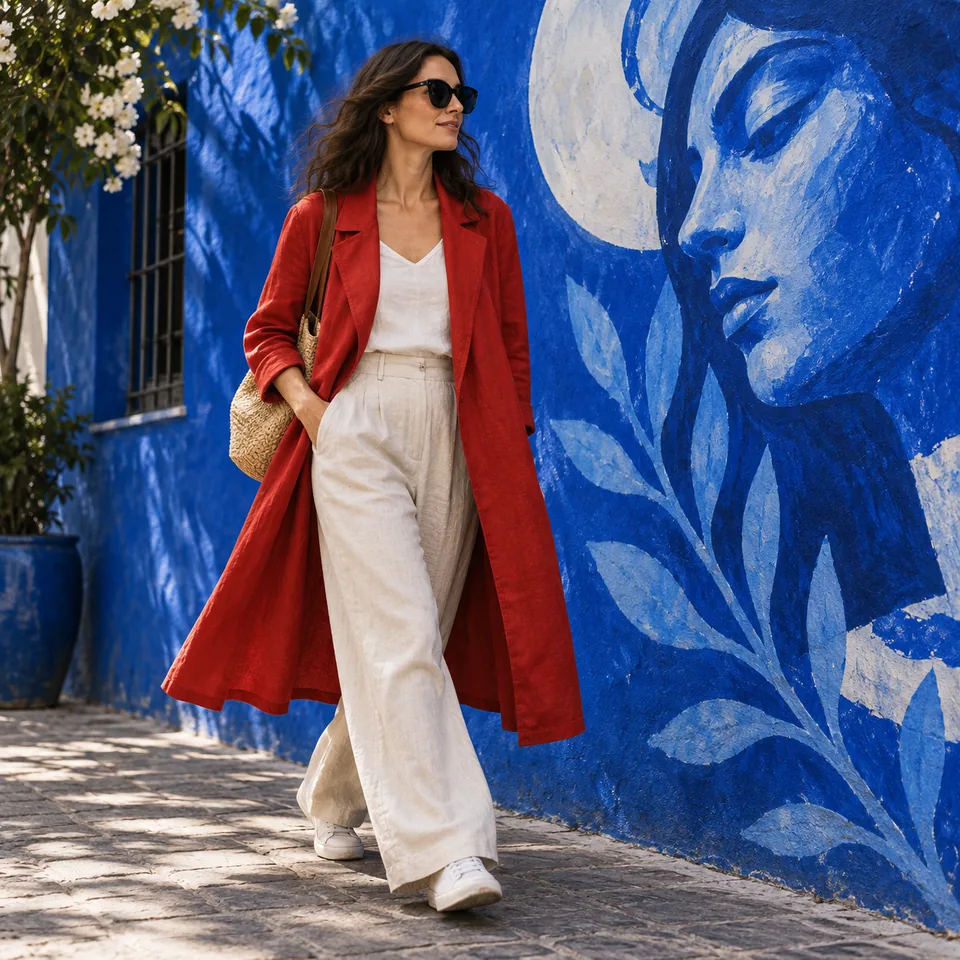
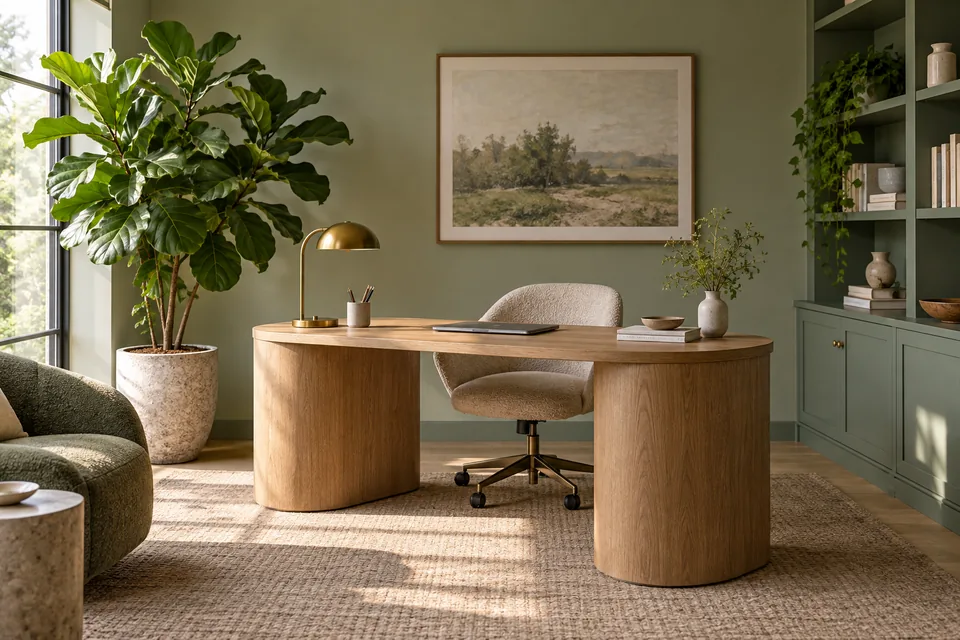
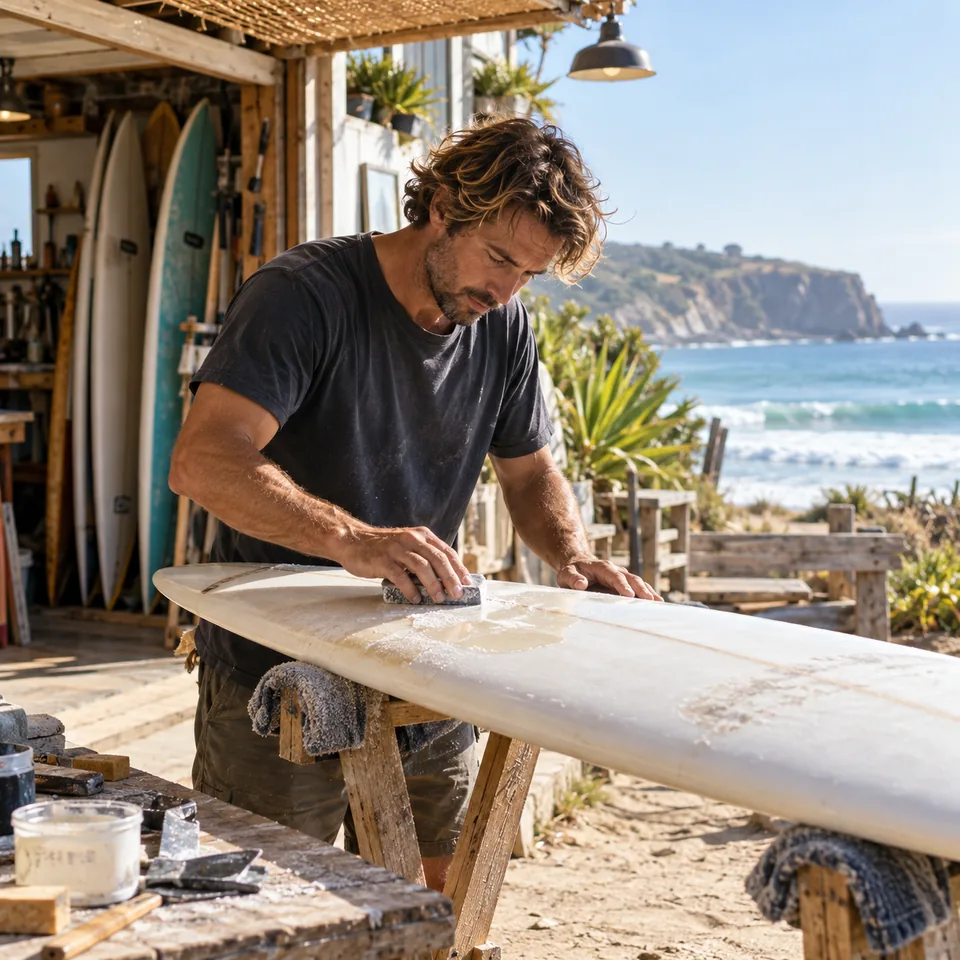
Turn a scene description into an image, or use your own photos to guide an edit. Choose a frame and download format, describe the result you want, and check the estimate before continuing.
0 / 5000
Prompt, files, and settings stay in this browser for 24 hours.
The exact credit amount is shown before generation.
Finished images will be delivered privately to your account.
Made with Muse Image
One idea, a finished visual
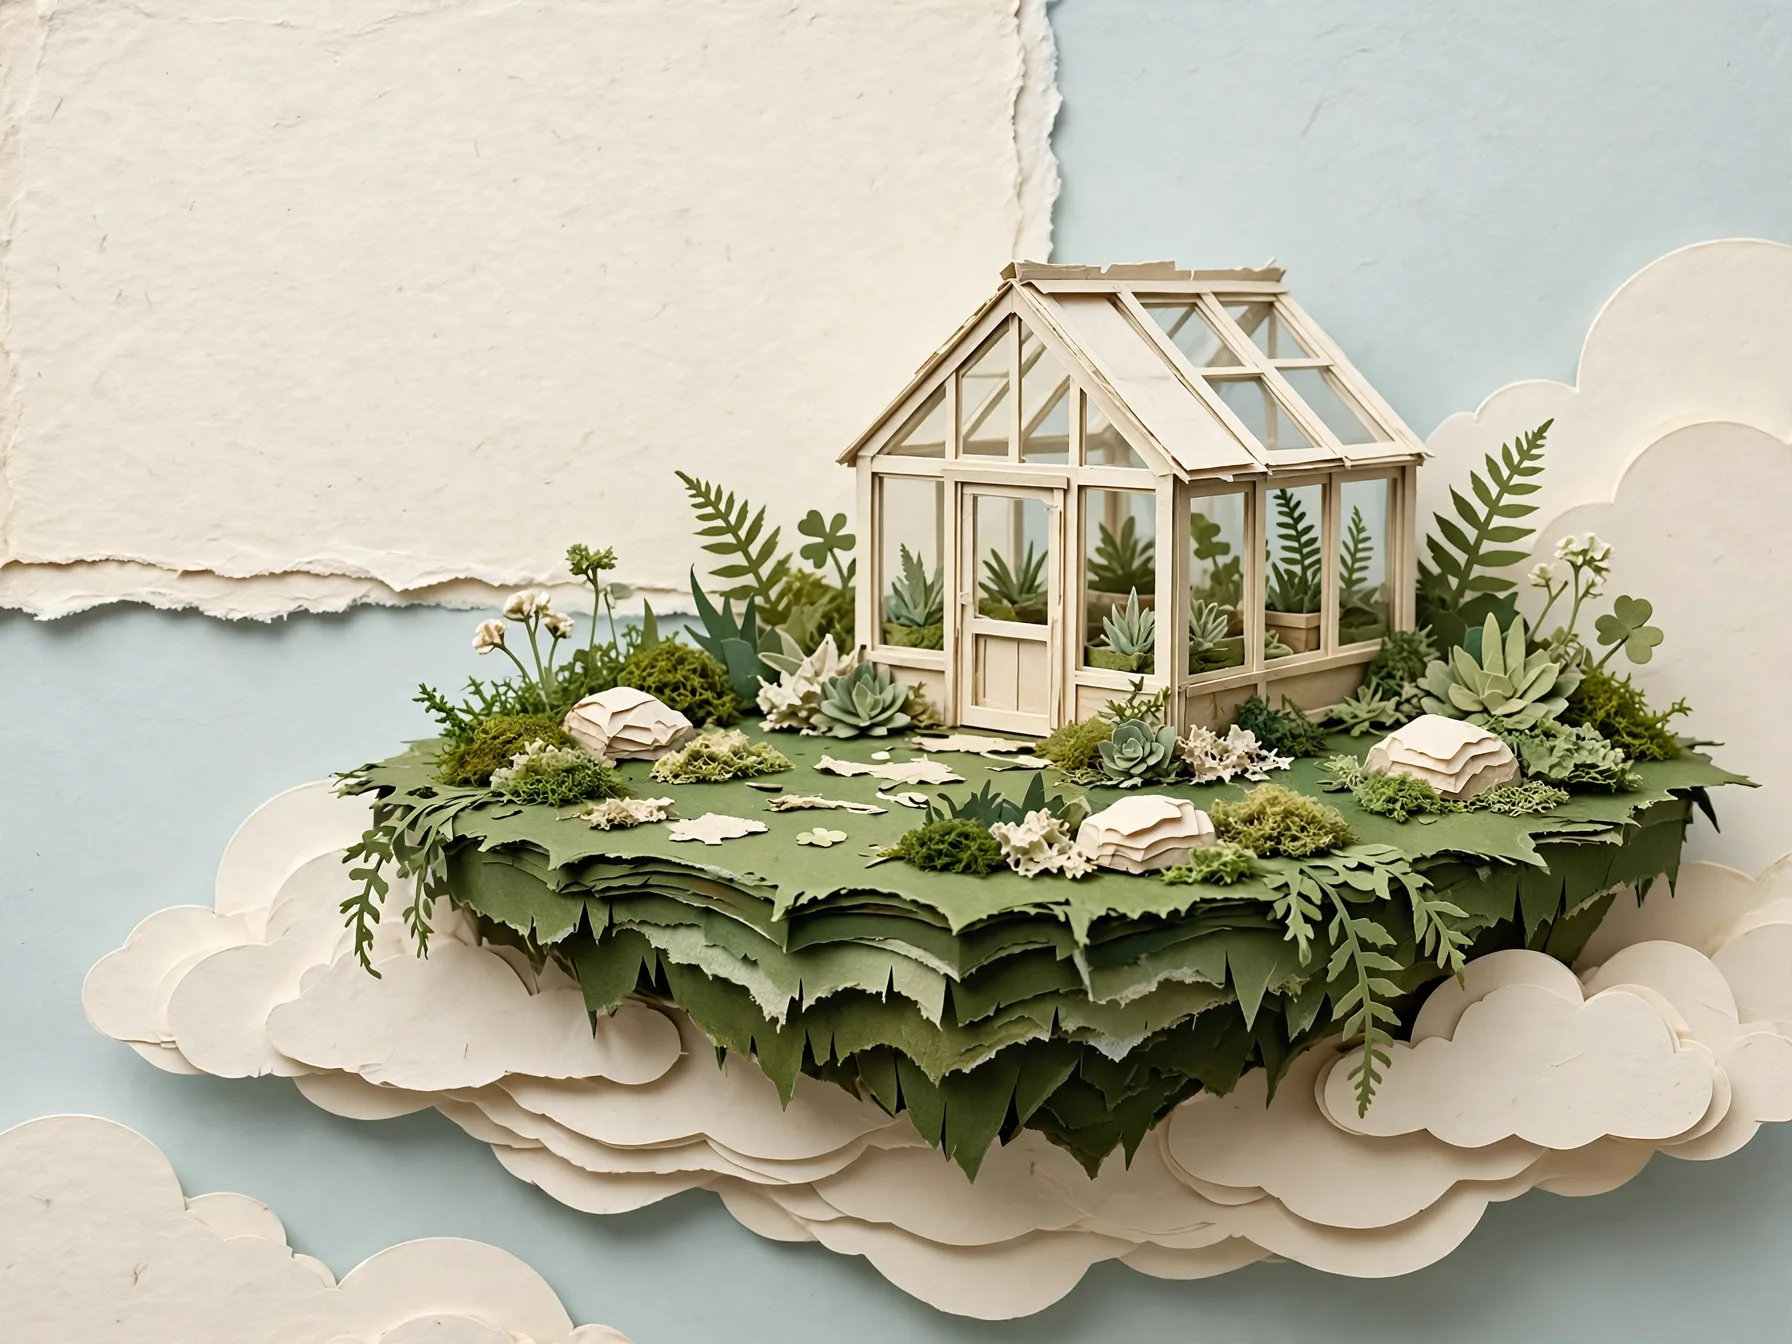
A world made of paperCreated with Muse Image from text, with space at the upper left for a later heading.
Create from text
Build the image around one clear idea
Muse Image is Meta’s image model for creating pictures from text and editing with visual references. Start from words when you want to invent a scene, composition, or illustration. Add images when the subject already exists and you want to change its surroundings, appearance, or presentation. The useful starting point is the result you need: a product picture, an illustrated concept, or an alternative treatment of a photograph. Describe that result in ordinary language, including the details that matter most.
Product visuals with a defined setting
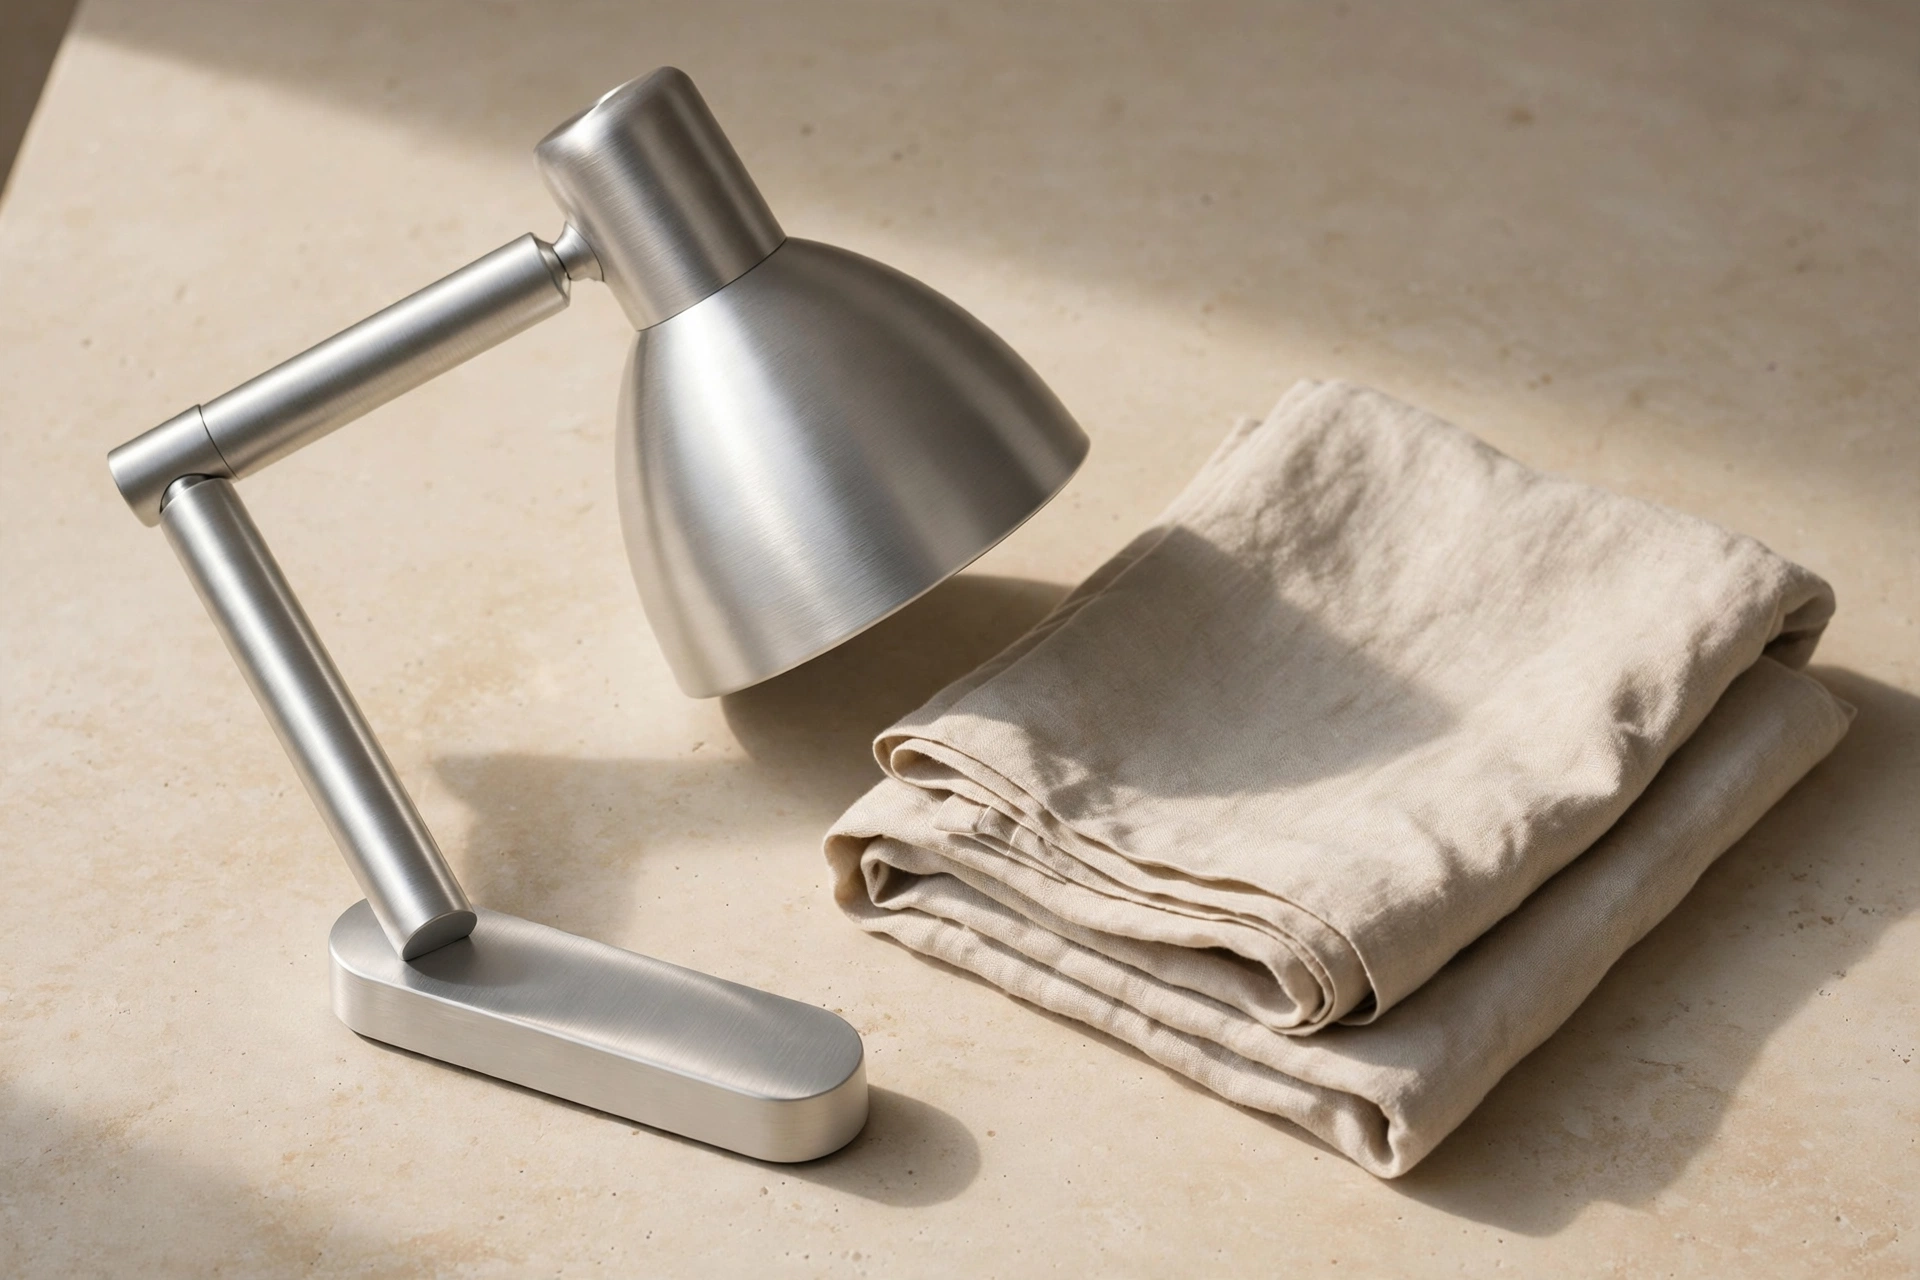
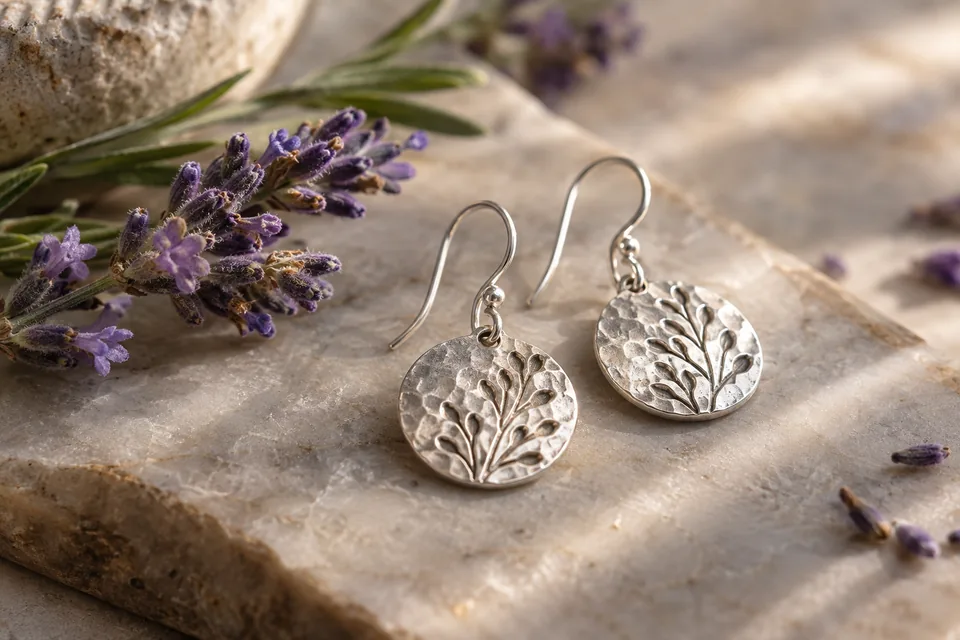
Describe the object, its material, and the space around it. A matte ceramic cup on a pale stone counter gives more direction than “beautiful product photo.” Add a viewpoint and lighting choice, such as a close side view with soft window light. If the product must match something you already sell, use a reference image and inspect the result carefully. Shape, labels, small attachments, and reflections can change during generation; the image still needs your approval before it represents a real item.
Illustrations with a specific composition
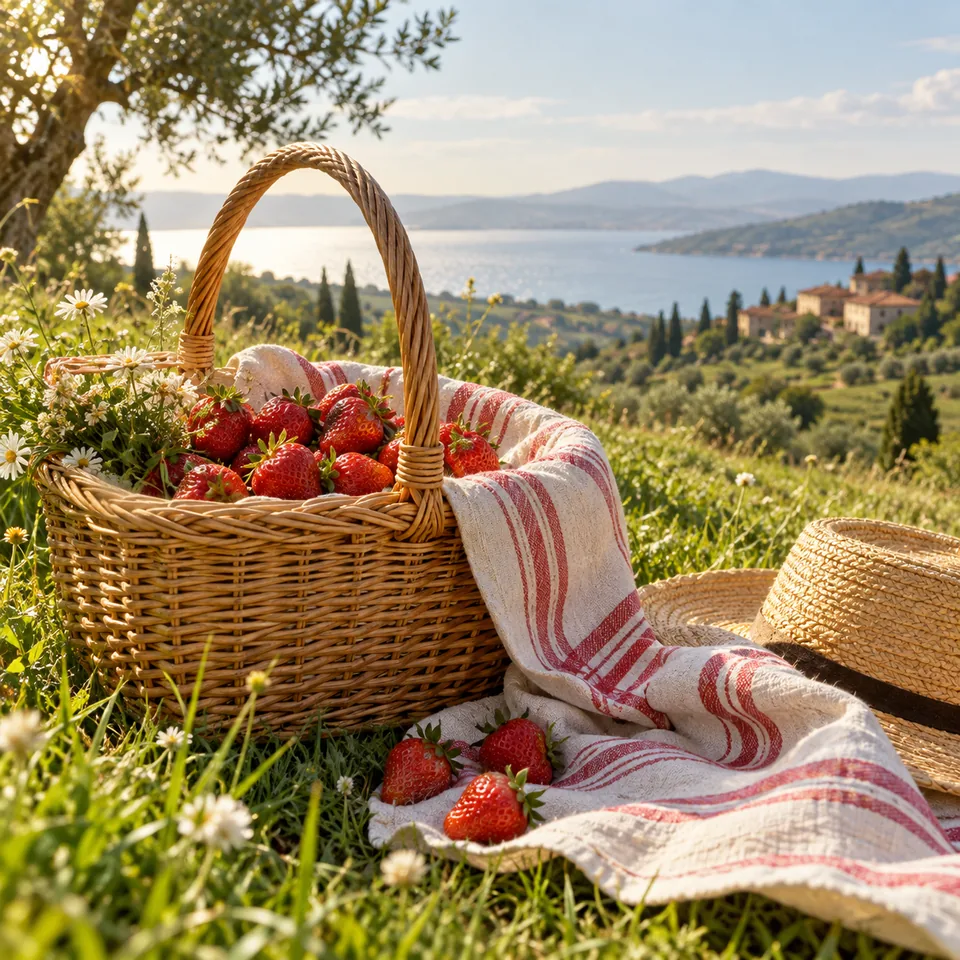
Give the main subject a clear position and say how much of the frame it should occupy. Specify the medium or visual treatment you want, such as cut paper, ink drawing, or a soft painted texture. A few purposeful details are often easier to assess than a long list of unrelated styles. Leave space for a heading when the image will sit behind text. Add final copy in your layout editor when precise wording and placement are essential.
Alternative looks for an existing image
Upload a photograph when you want to explore another background, color treatment, or artistic style. Name the change and the parts that should remain recognizable. For example, ask for a warm studio background while keeping the subject’s pose and clothing. An edit can also alter details you did not mention, so compare the result with the original. Keep your source file and treat each output as a new version to review, rather than a guaranteed exact replacement.
Frames that fit the destination
Choose a square for a compact layout, a wide frame for a banner, or a portrait frame for a vertical placement. A different ratio changes the composition; it is not simply a crop of the same picture. Explain where the subject should sit and which edges need breathing room. Automatic framing is useful when you are exploring, while a fixed ratio gives you a clearer target for the final placement. Check the downloaded dimensions before placing the image in a finished design.
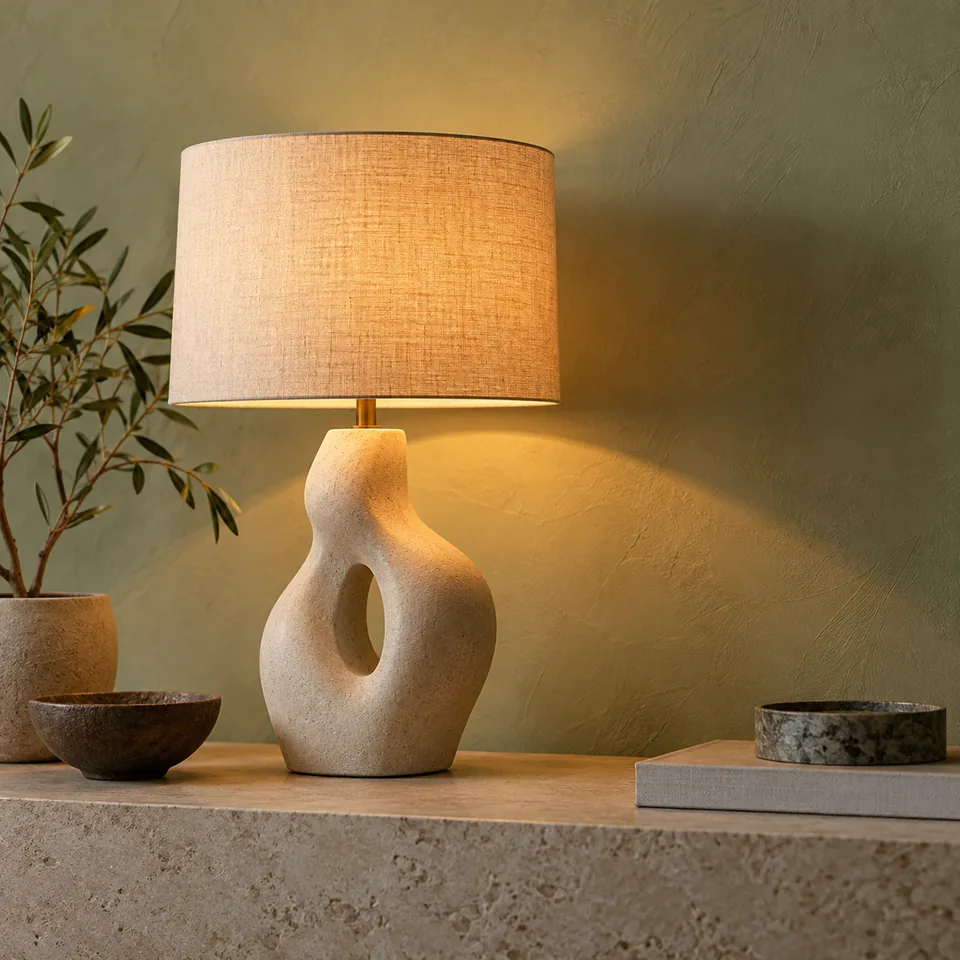
Original imageThe original Muse Image output used as the editing reference.
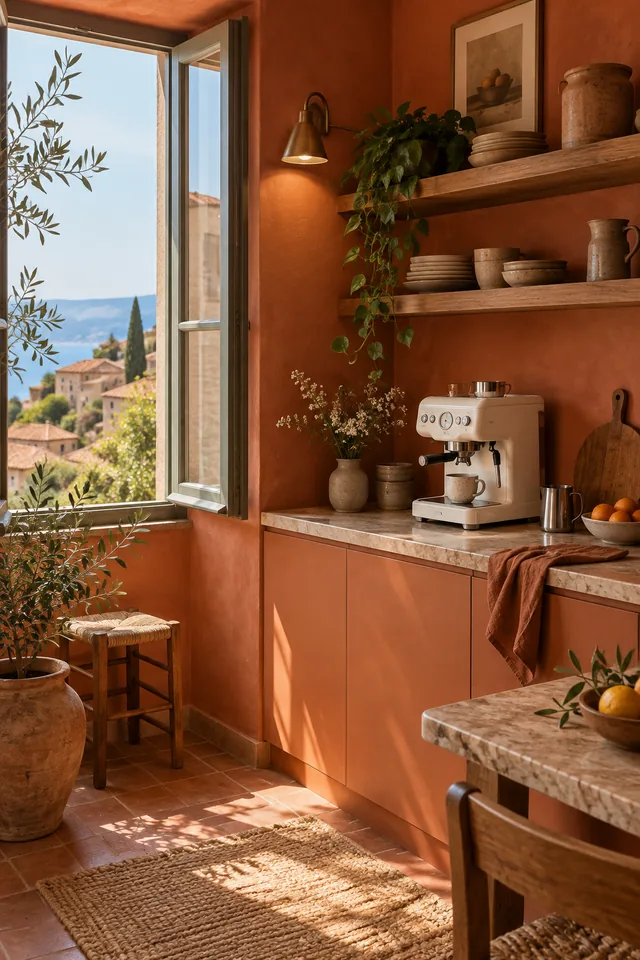
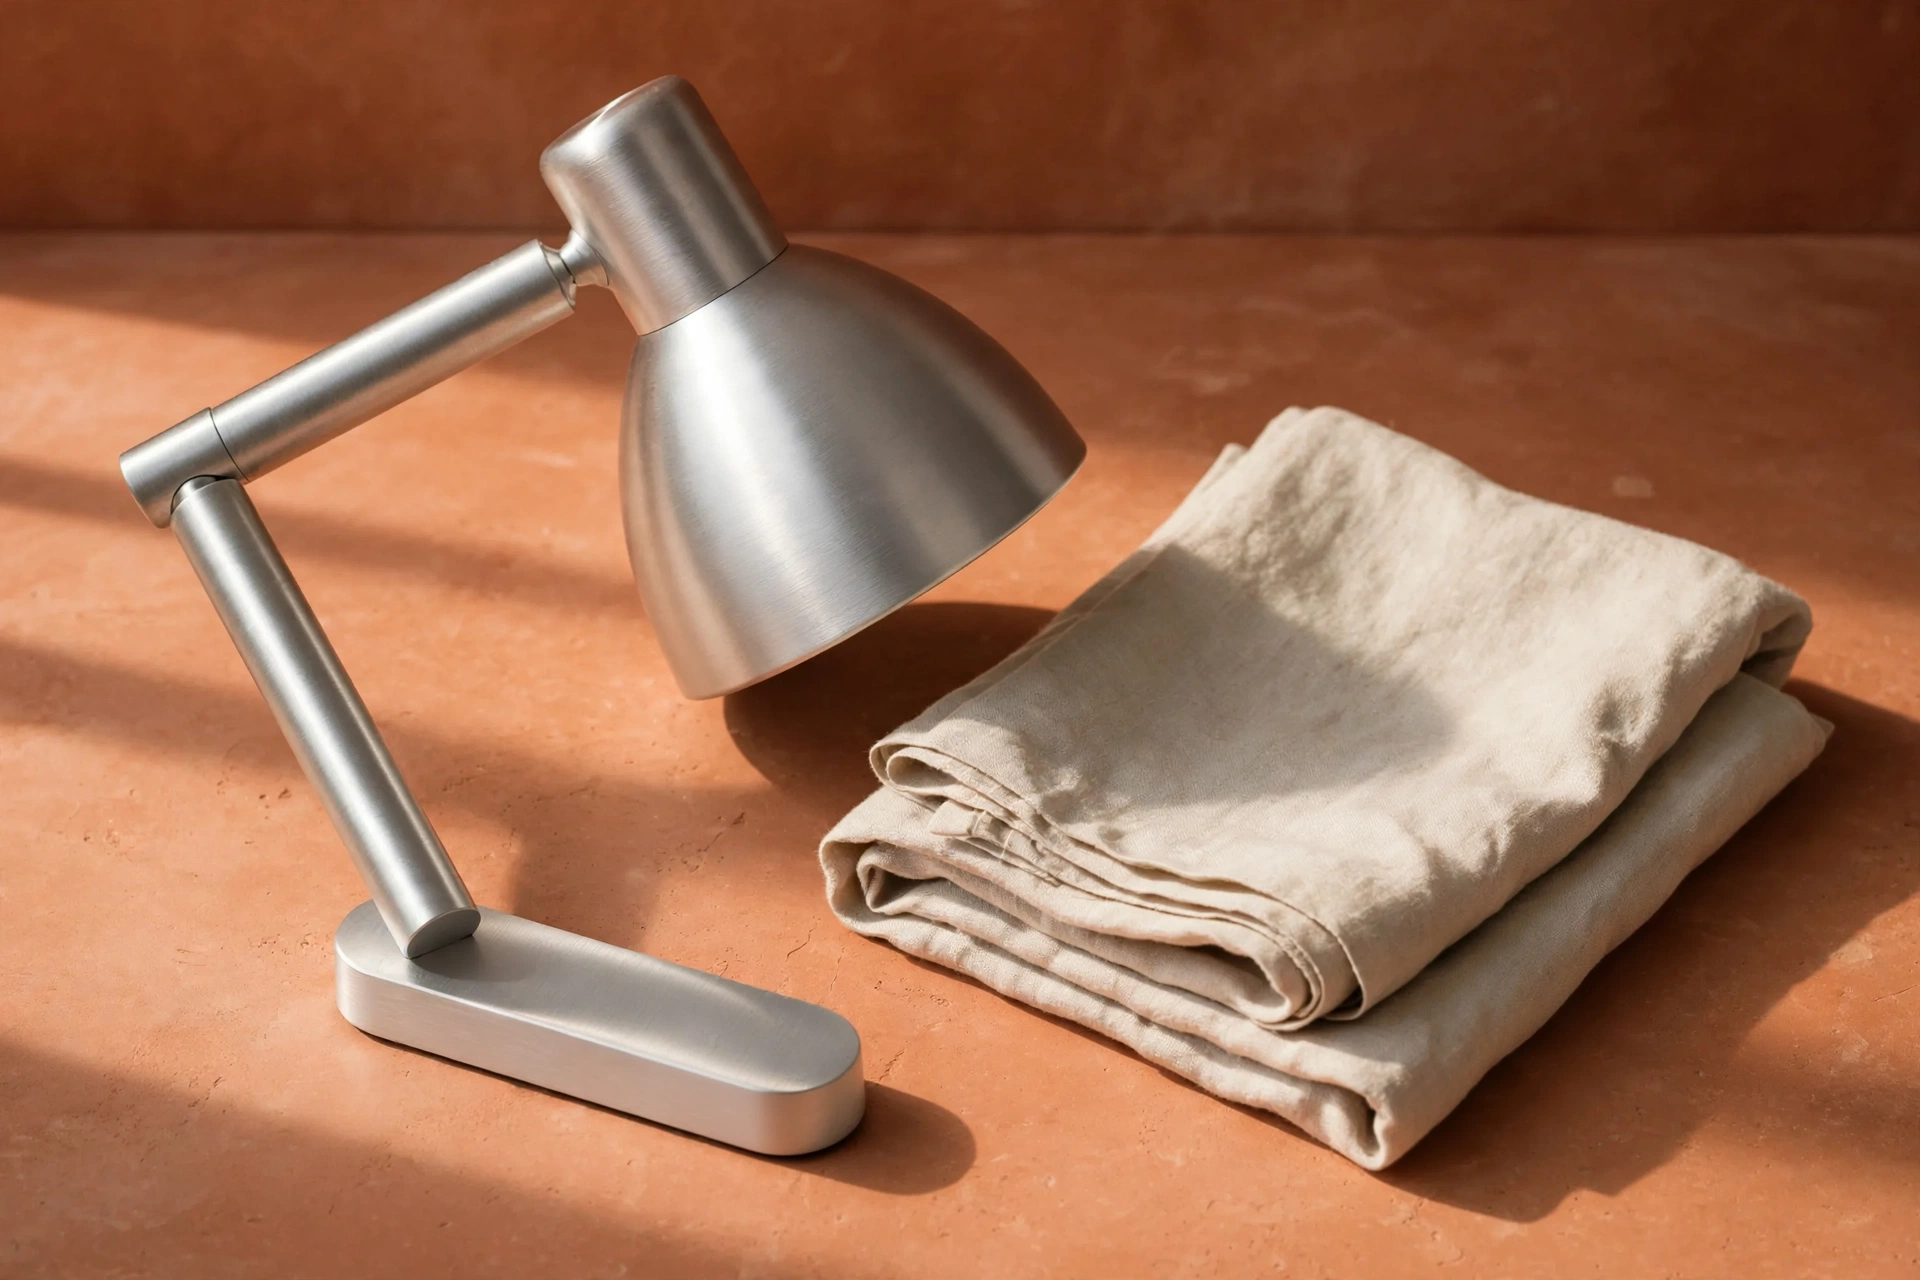
A warmer settingMuse Image changes the setting to terracotta while keeping the lamp recognizable. Compare small details with the original.
Edit with references
Use references to explain what matters
Image editing accepts one to ten reference images. Begin with the fewest images that communicate the job. One clear reference can establish a subject; another can show the setting or visual treatment you want to explore. Describe the contribution of each reference and avoid conflicting instructions. References guide generation, but they do not guarantee exact identity, geometry, text, or color reproduction.
Make each reference easy to read
Choose a source in which the relevant subject is visible and large enough to inspect. A tiny object in a crowded scene leaves more room for interpretation. Crop away distractions before uploading when they do not belong in the edit. Use files you have permission to work with, and keep the originals separately. Adding more references does not automatically improve a result; an extra image should provide information that the existing ones do not.
Separate the change from the constants
Write what you want to change first, then identify what should remain. “Replace the plain wall with a sunlit garden; keep the chair’s shape and camera angle” gives you concrete details to compare afterward. If an output drifts from the source, simplify the request or work on one change at a time. Check the whole image, including areas outside the main subject. Generated edits can introduce unwanted objects, altered edges, or inconsistent shadows.
Choose a practical download format
Muse Image offers JPEG, PNG, and WebP output in this workspace. JPEG is useful for photographic images that need broad compatibility. PNG can suit a lossless editing workflow, while WebP is useful for many web placements. Choosing PNG does not itself request a transparent background. File format also does not increase detail or fix a composition. Pick the format that your next tool accepts, then inspect the actual download before sharing or publishing it.
Refine with a new request
Review the first result before deciding what to change. If the framing works but the lighting does not, focus the next request on lighting instead of rewriting the entire idea. You can use a downloaded result as a reference for another edit. Each new generation is a separate request with its own estimate; the model should not be assumed to remember an earlier conversation. Keep useful source images and prompt notes so you can explain the next change clearly.
Review your result
Check the details before using an output
Inspect the complete picture before using it in your next project.
Compare the important details
Image generation can produce convincing overall compositions while missing small facts. Inspect lettering, hands, repeated objects, product proportions, and reflections at full size. Compare an edited subject with its source, especially when accurate appearance matters.
Check the actual dimensions
A higher-quality source helps you describe the job but does not guarantee that every detail will be preserved. This workspace does not provide a separate Muse resolution selector; choose the frame and format, then review the actual output dimensions.
From idea to image
How to prepare a Muse Image request
01
Choose your starting point.
Select text to image for a new scene or image editing for work based on references. For an edit, add the images that explain the subject and desired change.
02
Describe a useful result.
Name the subject, composition, viewpoint, and lighting. For an edit, say what should change and what should remain recognizable. Keep exact text brief and inspect it afterward.
03
Review the settings and estimate.
Choose the frame and file format, then check the credits and generation availability shown in the workspace. Preparing a draft does not itself generate an image.
04
Inspect and download.
Review the result at full size, compare it with any references, and download the file for your next step. Start another request only when you know which change you want to make.
Plans for image and video
Pricing
Annual plans are billed upfront. The same plan credits refresh every 30 days and expire at the end of that window; unused subscription credits do not roll over.
Free
$0/ month
Explore the workspace and prepare a first request before choosing a paid plan.
No. This page is for Meta Muse Image and still-image creation or editing. It does not create a video from your picture. Use an image-to-video workflow when your next task is animation.
02Do I need to upload an image?+
Text-to-image starts with a written description. Image editing needs at least one reference image and accepts up to ten. Choose the workflow around whether you are inventing a new scene or working from existing visual material.
03Can I request exact text or product details?+
You can describe them, but you should inspect the result. Generated lettering, logos, shapes, and small details can differ from the request or reference. Add final typography or corrections in an editor when exact reproduction is required.
04Does this workspace search the web for references?+
No web-search control is provided here. Upload the references you want to use and describe the result. Do not assume that the model has retrieved a current product photograph or checked a factual claim for you.
05How do I check the cost?+
Use the estimate shown for your current request and review it before generating. A later edit is a new generation with its own cost. Available credits and access are shown in the workspace; see Pricing for the available plans.
Your next creation
Start with your next image
Describe a scene or choose the reference you want to edit. Set the frame and format, then review the estimate before continuing.