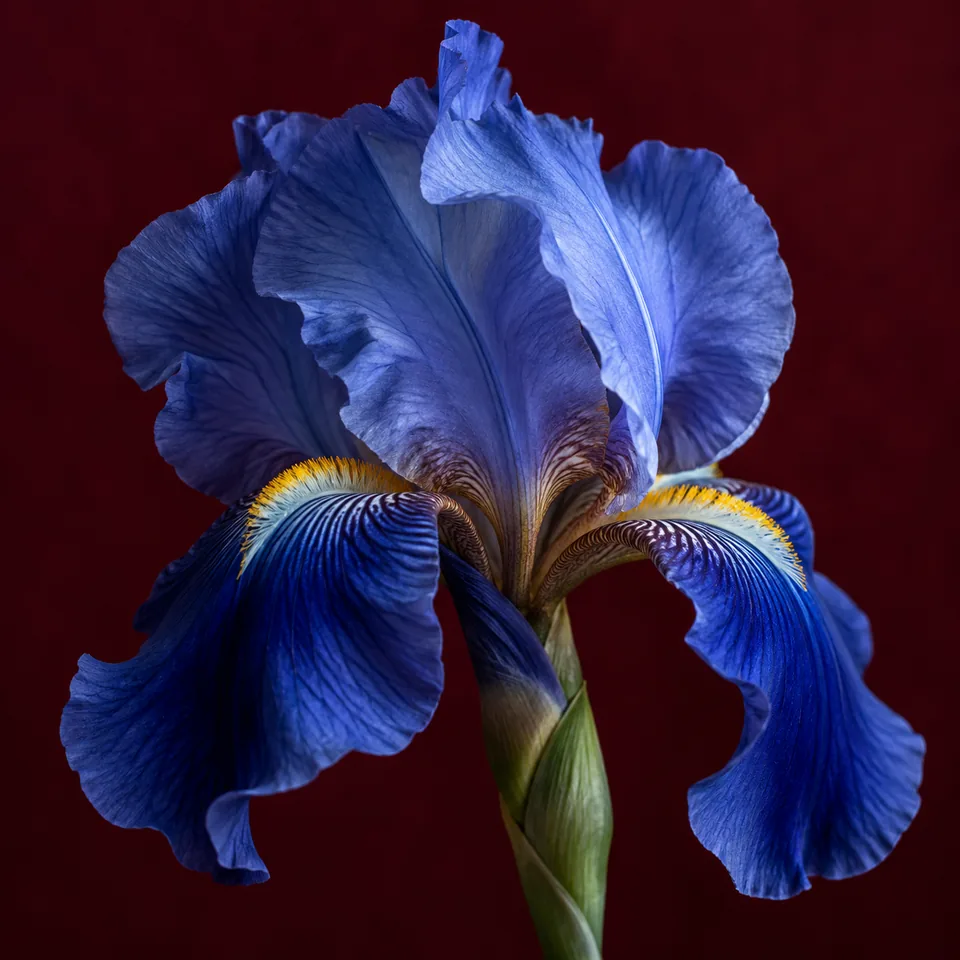
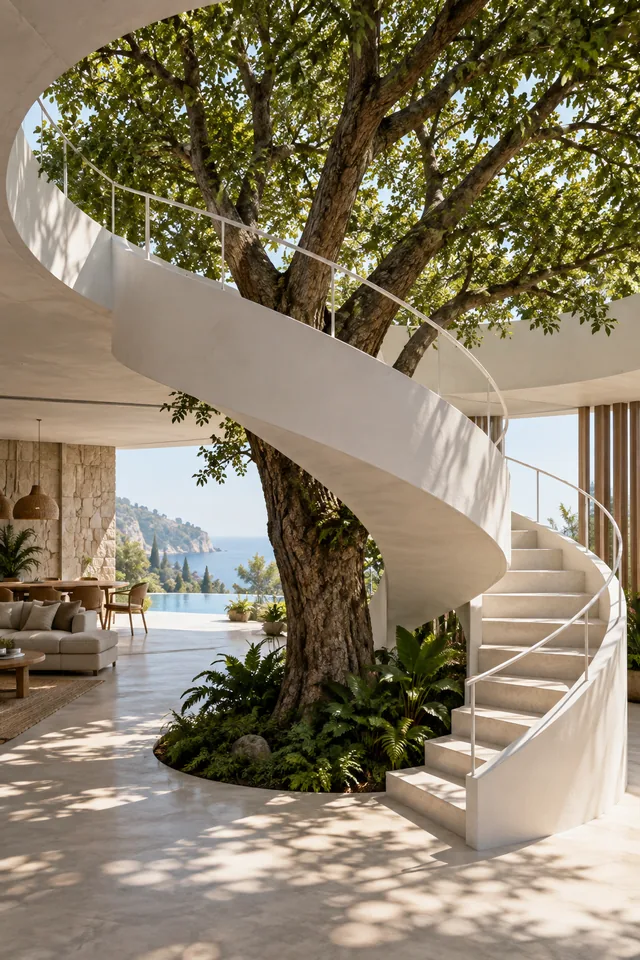
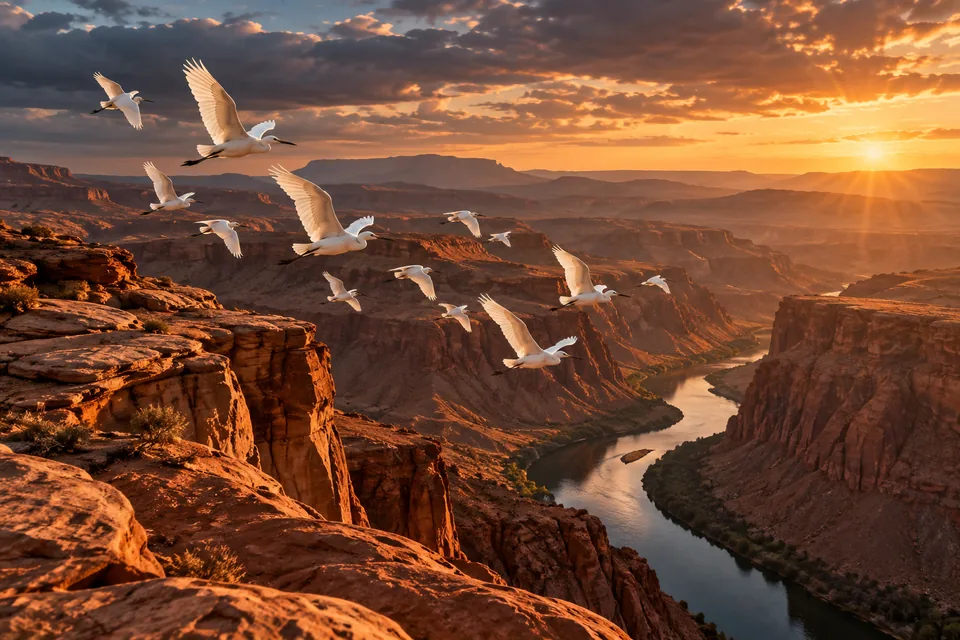
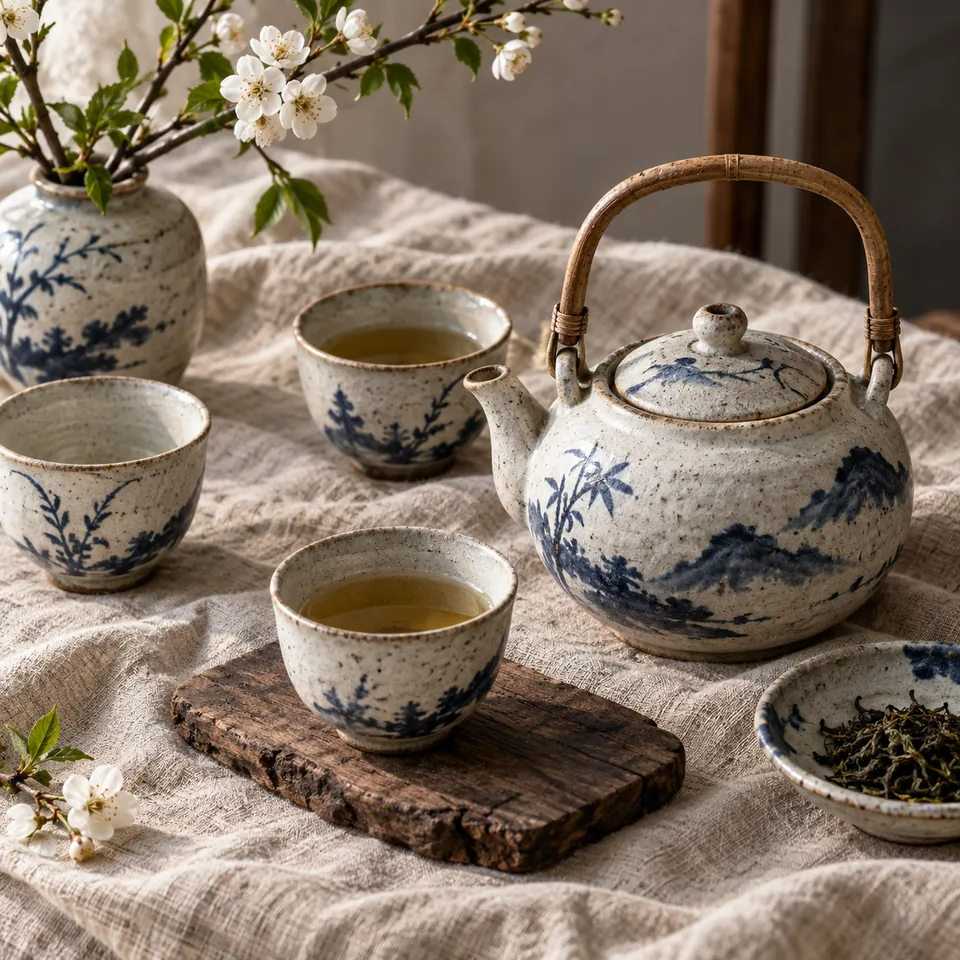
Create a new visual from a description or guide an edit with reference pictures. Explain what each image contributes, choose an output preset, and review the settings before generating.
0 / 5000
Prompt, files, and settings stay in this browser for 24 hours.
The exact credit amount is shown before generation.
Finished images will be delivered privately to your account.
Made with Seedream 4.5
Explore an object, style, and edit
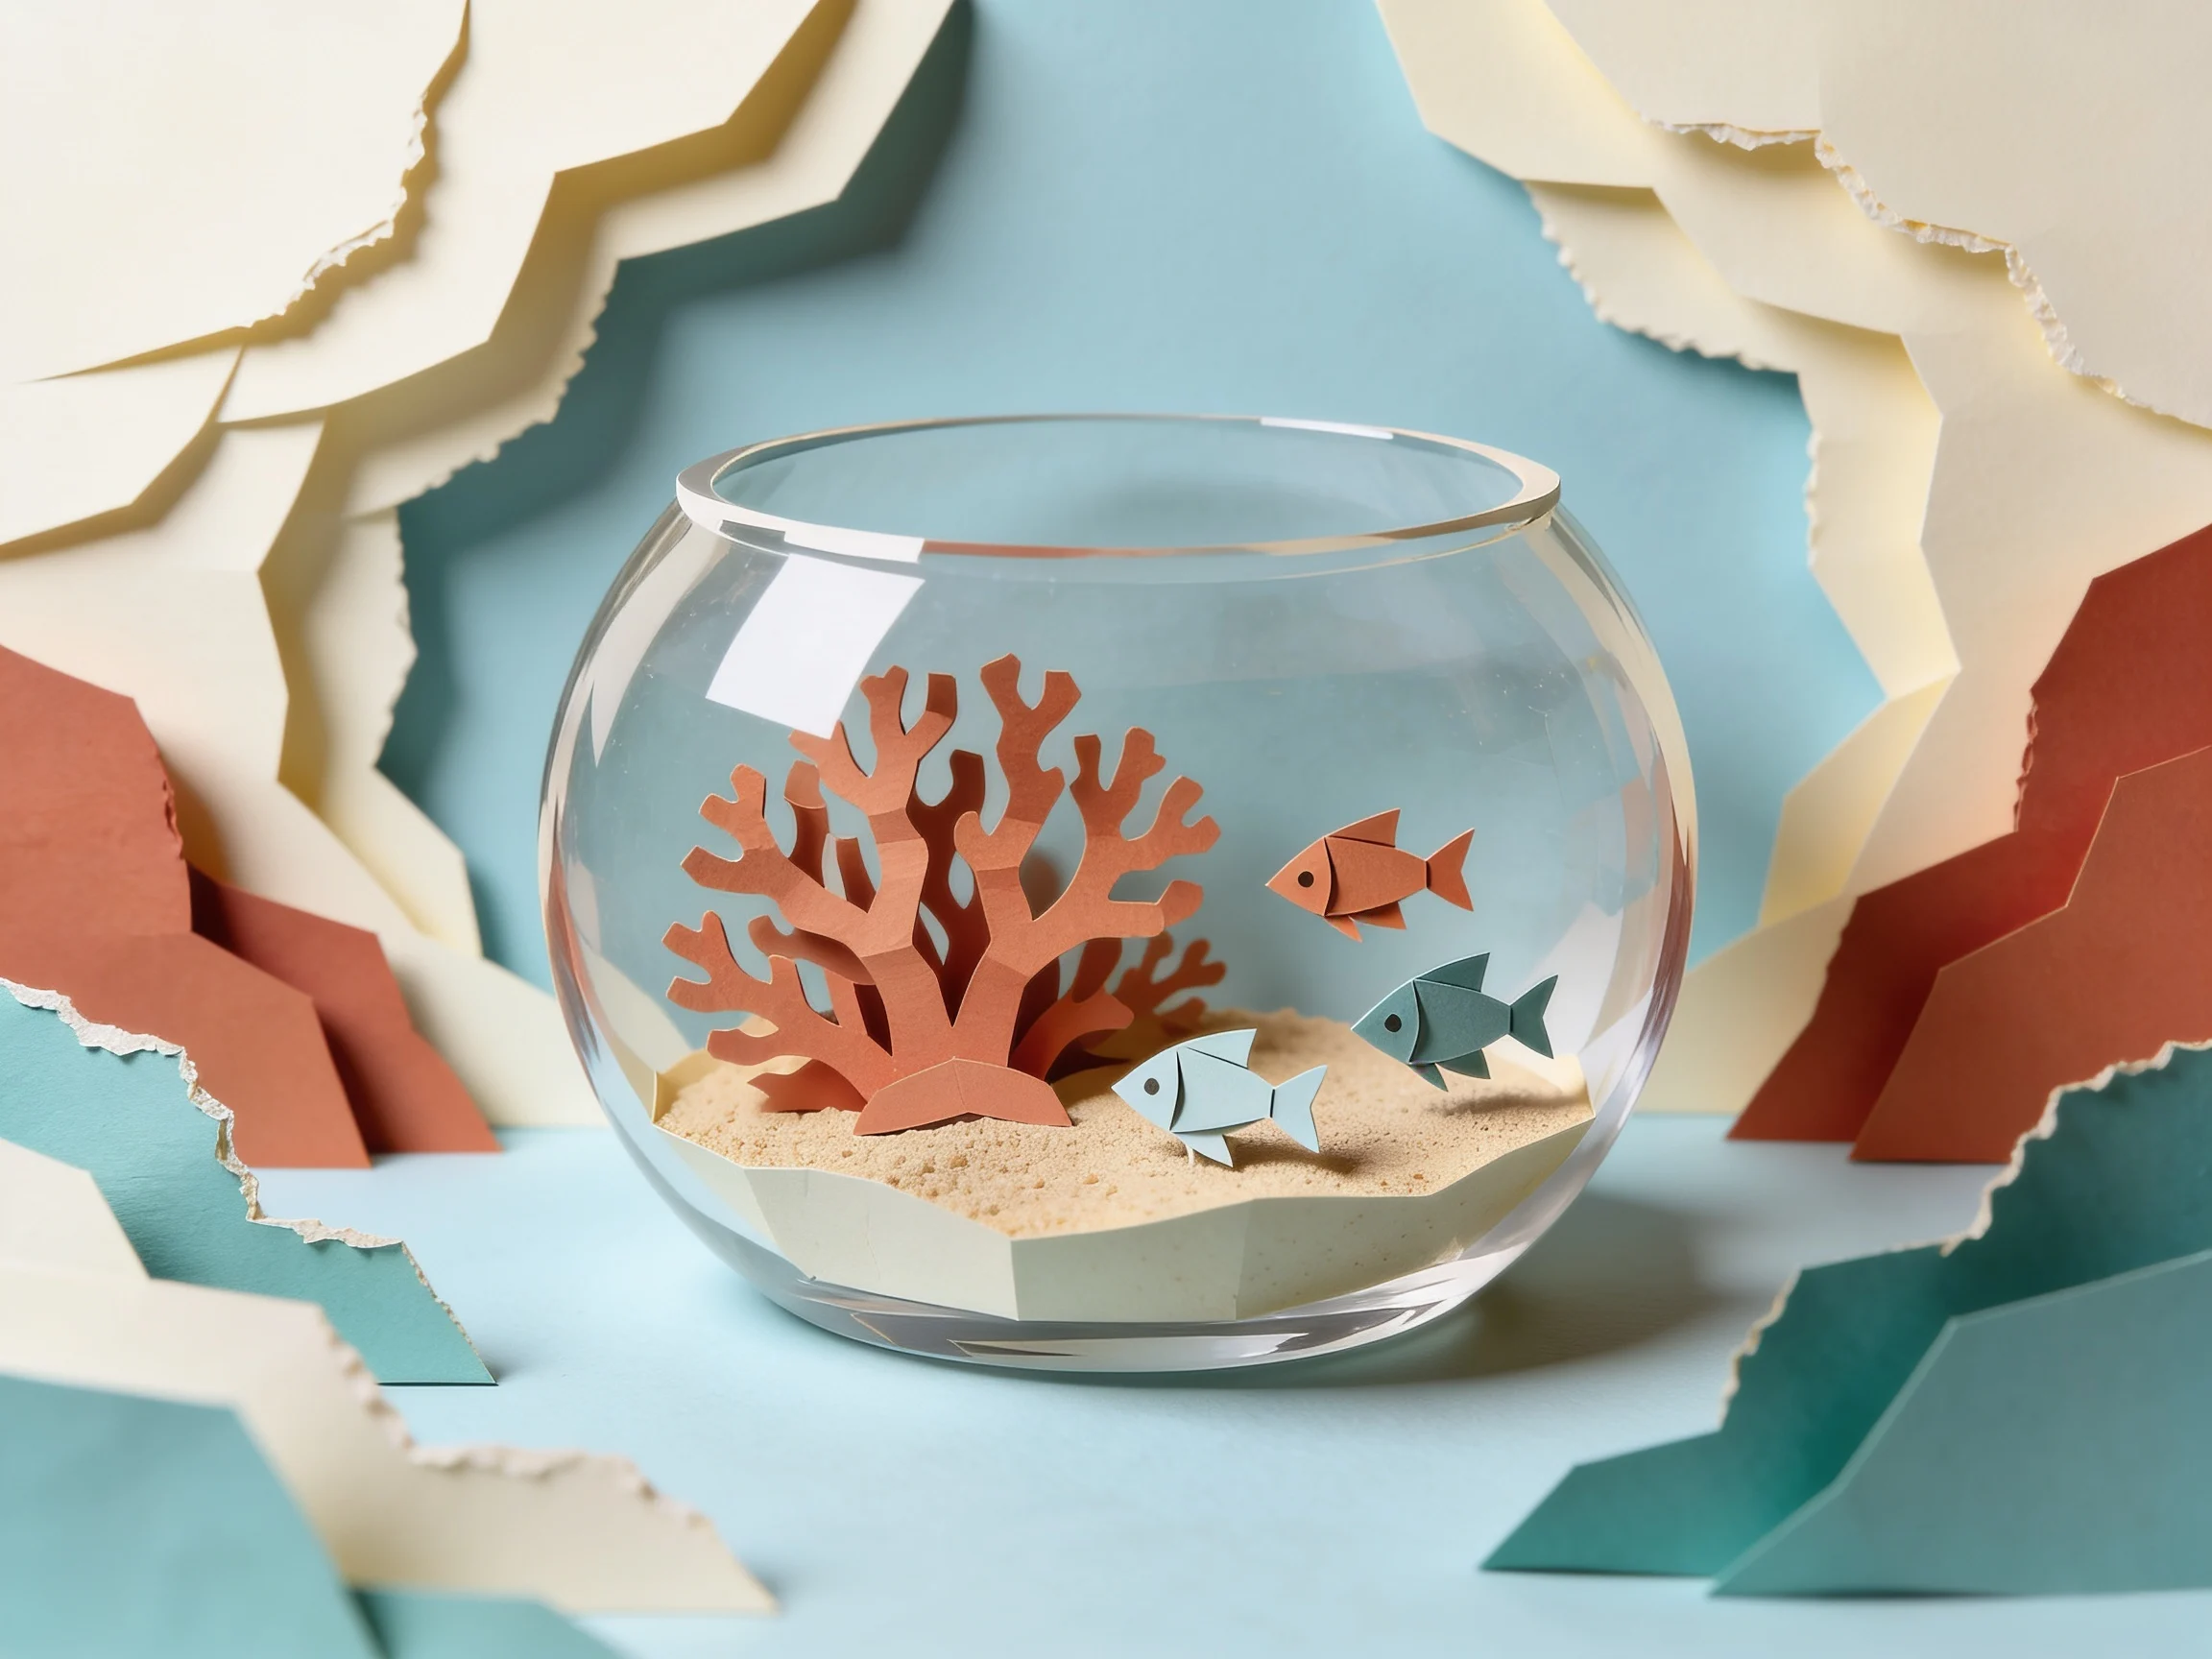
Paper beneath glassCreated with Seedream 4.5 from text, using a restrained paper palette and visible layered edges.
Create from a brief
Turn a visual brief into an image you can evaluate
Seedream 4.5 can start from text or reference images. A written brief gives you room to invent a product scene, illustration, or photographic composition. References help when you already know what an object, material, or setting should look like. Choose the approach around the decisions you have already made. Before generating, identify the details that will decide whether the result is useful: the shape of a product, the placement of a heading, a recognizable face, or a consistent arrangement of objects. Those details deserve a closer check than the overall style.
Plan a product scene around the object
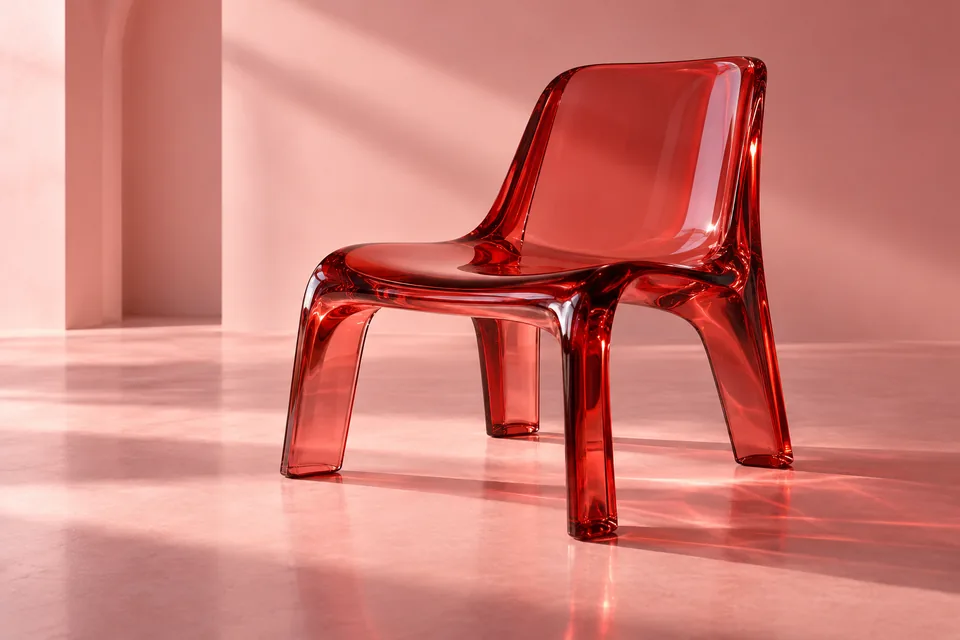
Describe the product's shape, material, viewpoint, and position in the frame. Explain the surface it rests on and the light that should reveal its important features. If you have a product photo, use it as a reference and identify the parts that should remain recognizable. Inspect the outline, attachments, labels, and reflections in the result. A generated scene can suggest a presentation direction, but it should not be used as a factual product photograph unless the depicted details match the actual item.
Ask for natural light and visible texture
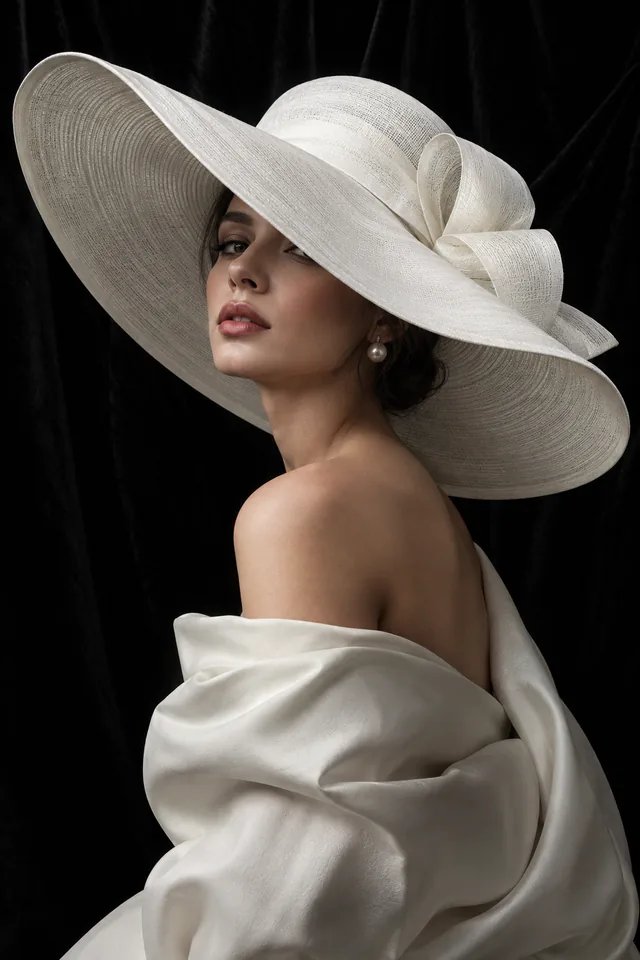
For a casual photographic appearance, describe the light source, camera distance, and setting. Soft window light, a simple room, and visible surface texture can communicate more than a long list of camera brands. If a person appears, describe the desired expression and pose without assuming that the model will preserve a real identity exactly. Review hands, teeth, eyes, hair, and skin at a useful zoom level. An image that looks natural at thumbnail size can still contain details that need correction.
Keep lettering short and deliberate
Give the exact wording of a short heading or label and explain where it should sit. A clear hierarchy can help separate the main message from a smaller supporting line. Leave room around the text so it does not compete with the subject. Read the generated wording carefully, including repeated letters and punctuation. Check for unwanted text in the background as well. For a final design that needs exact typography, add or replace the lettering in an editor instead of treating generated text as finished artwork.
Define a style through concrete choices
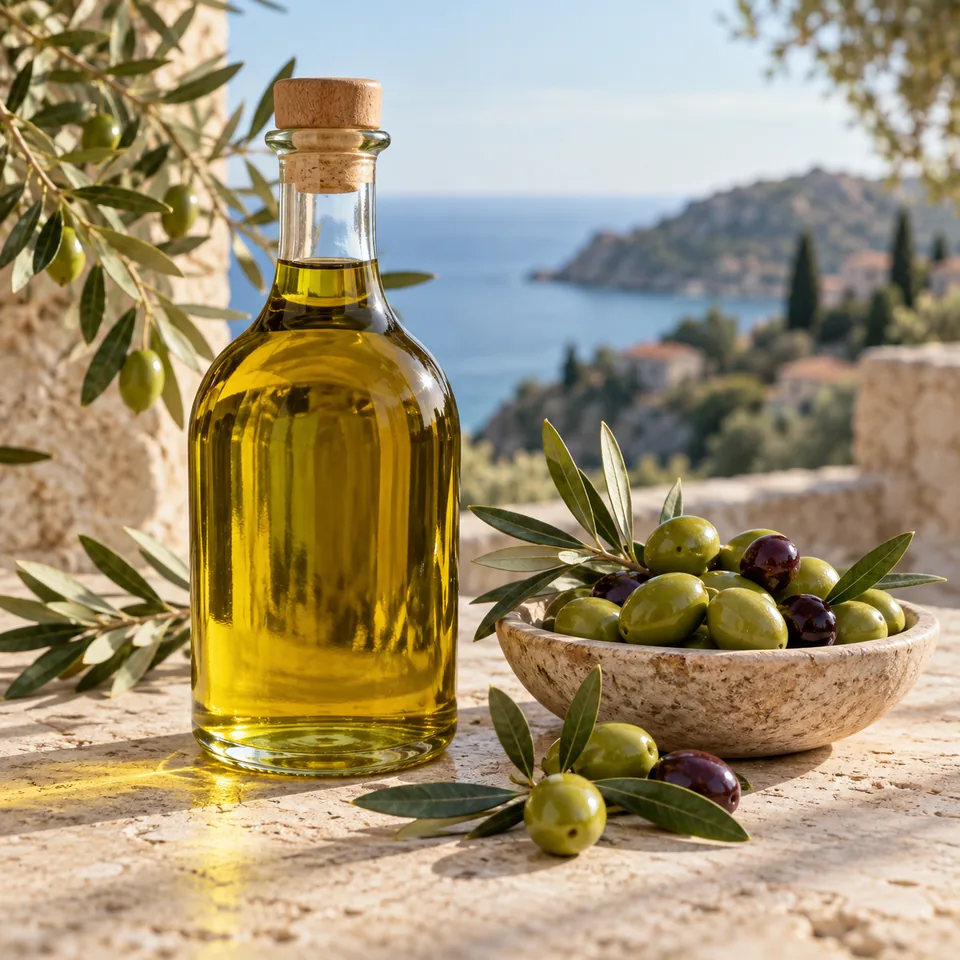
Name a small set of compatible materials, colors, and lighting conditions. A paper illustration can use visible cut edges and a restrained palette; a studio scene can use a simple background and a single side light. Explain which details should be prominent and which should stay quiet. Review the relationships between parts, not just the surface finish. Repeated objects, perspective lines, and cast shadows can reveal inconsistencies that are easy to miss when you focus on the main subject alone.
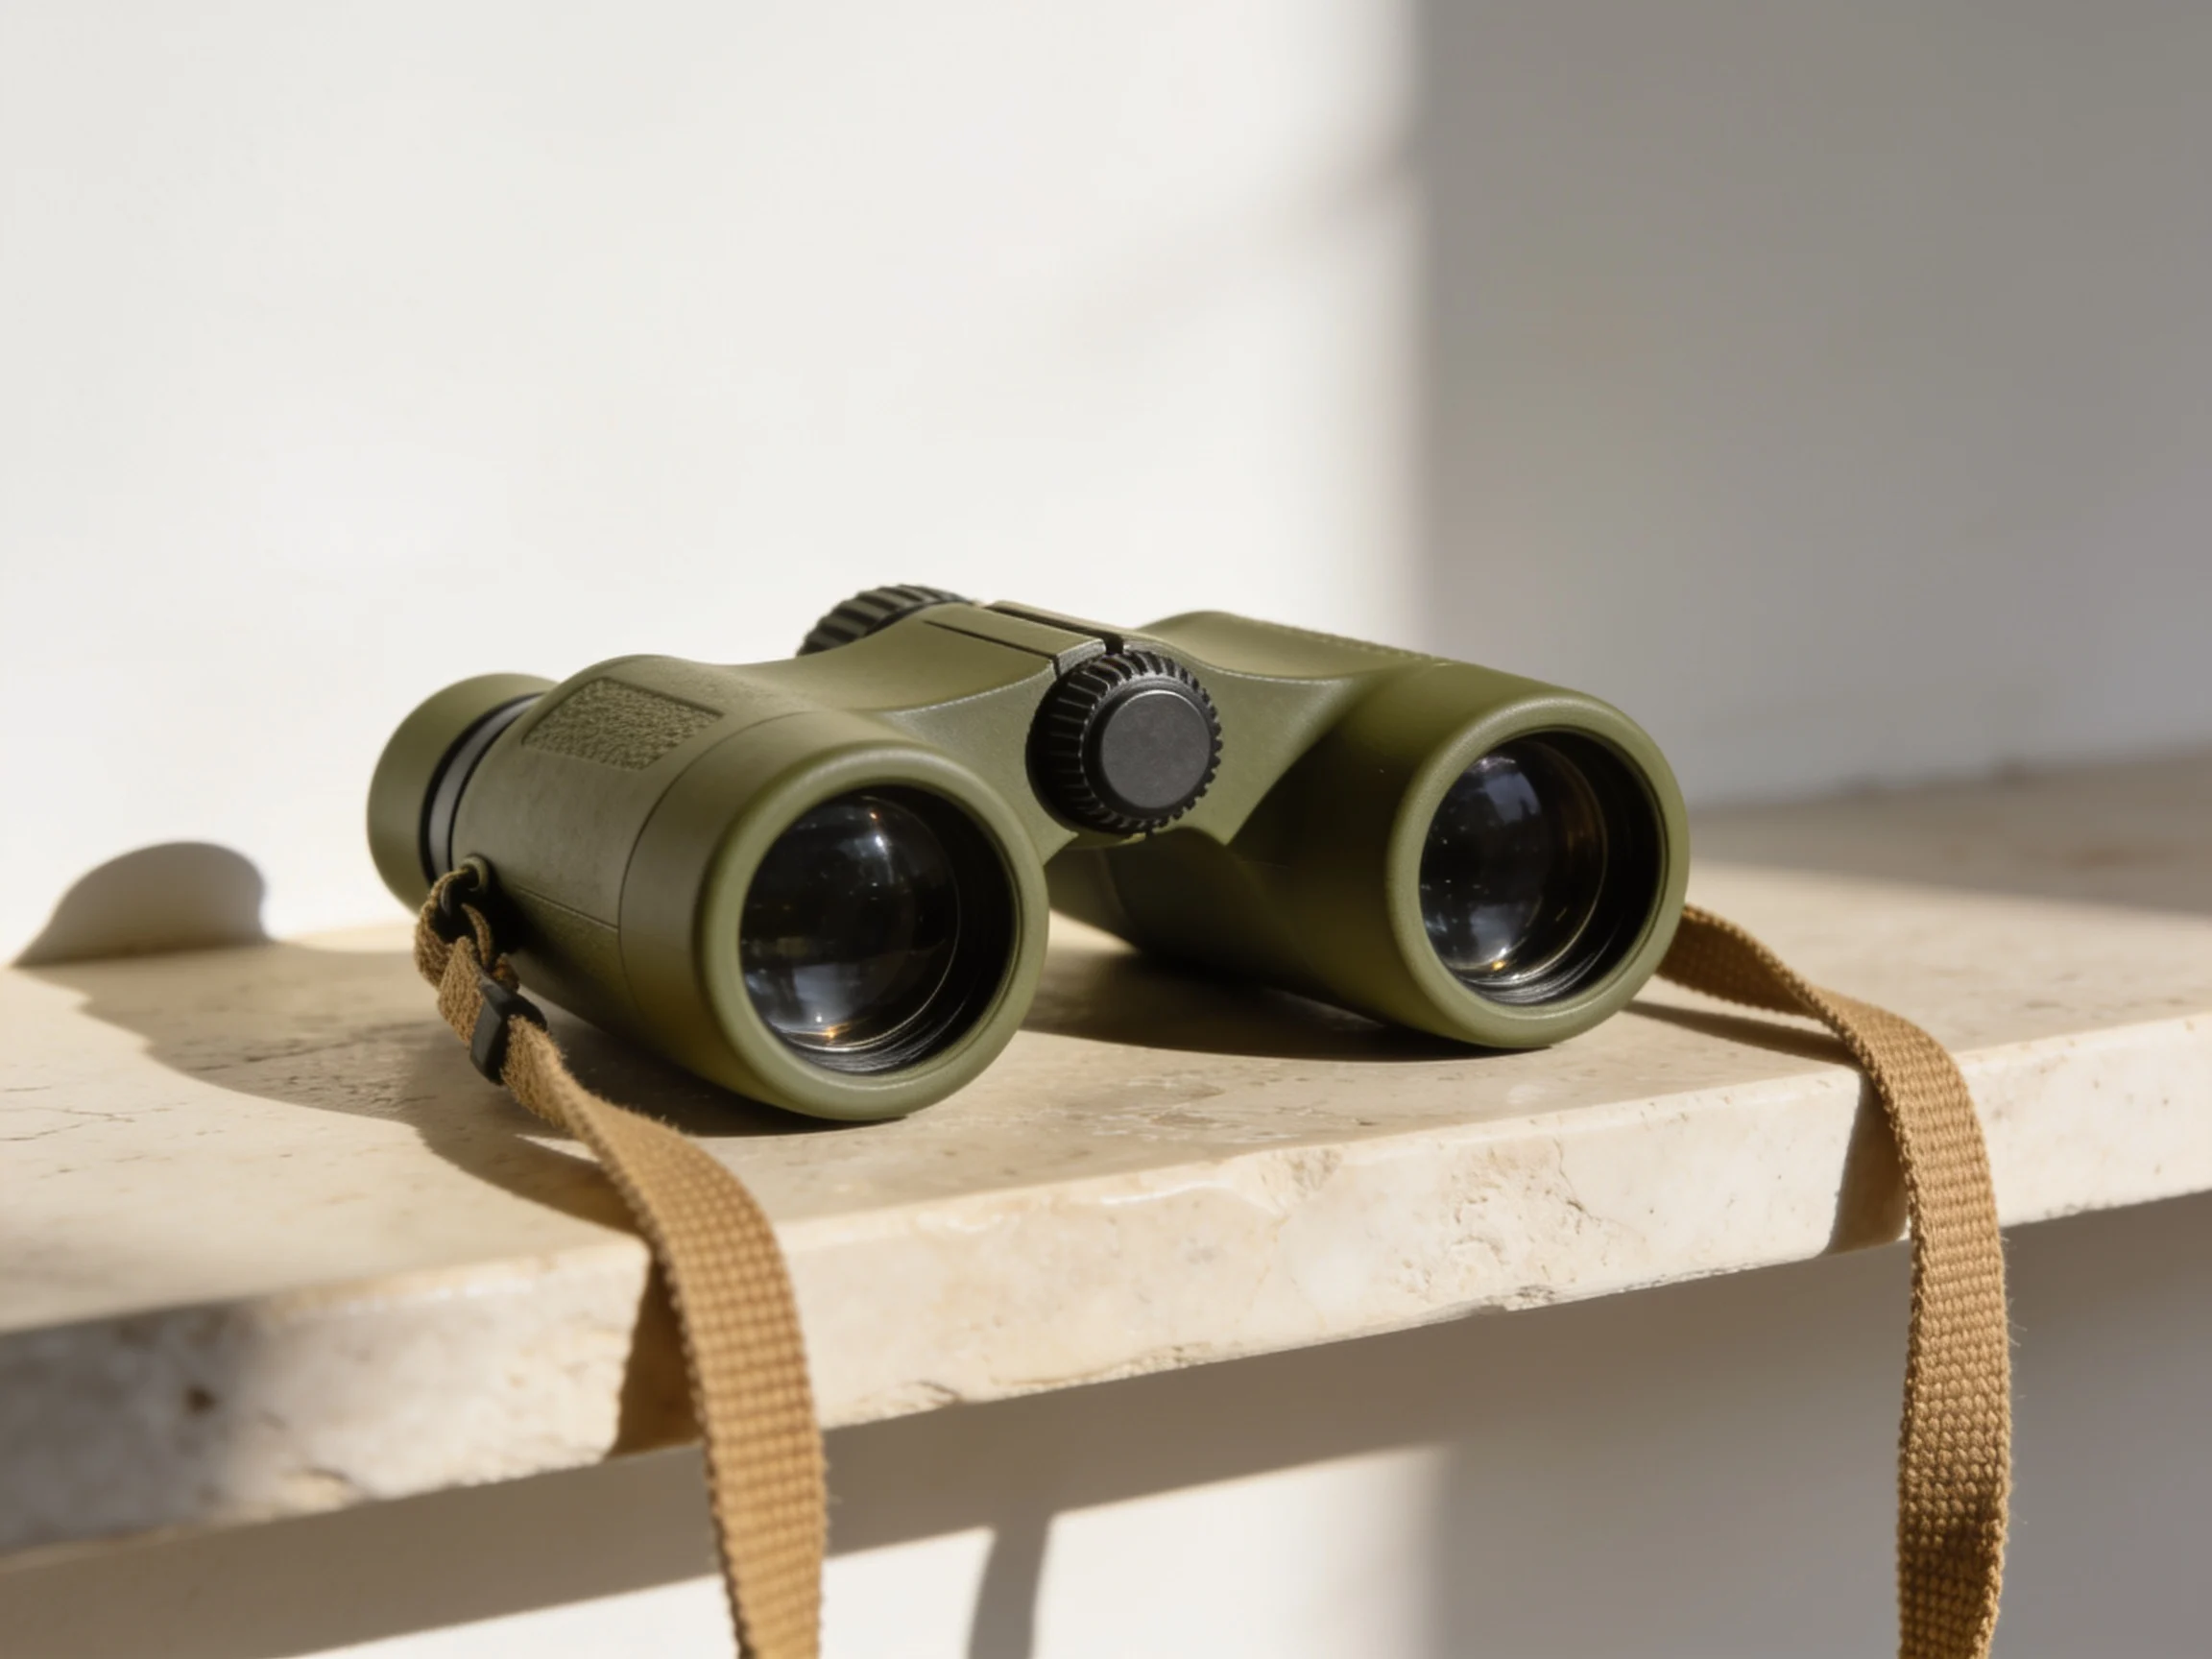
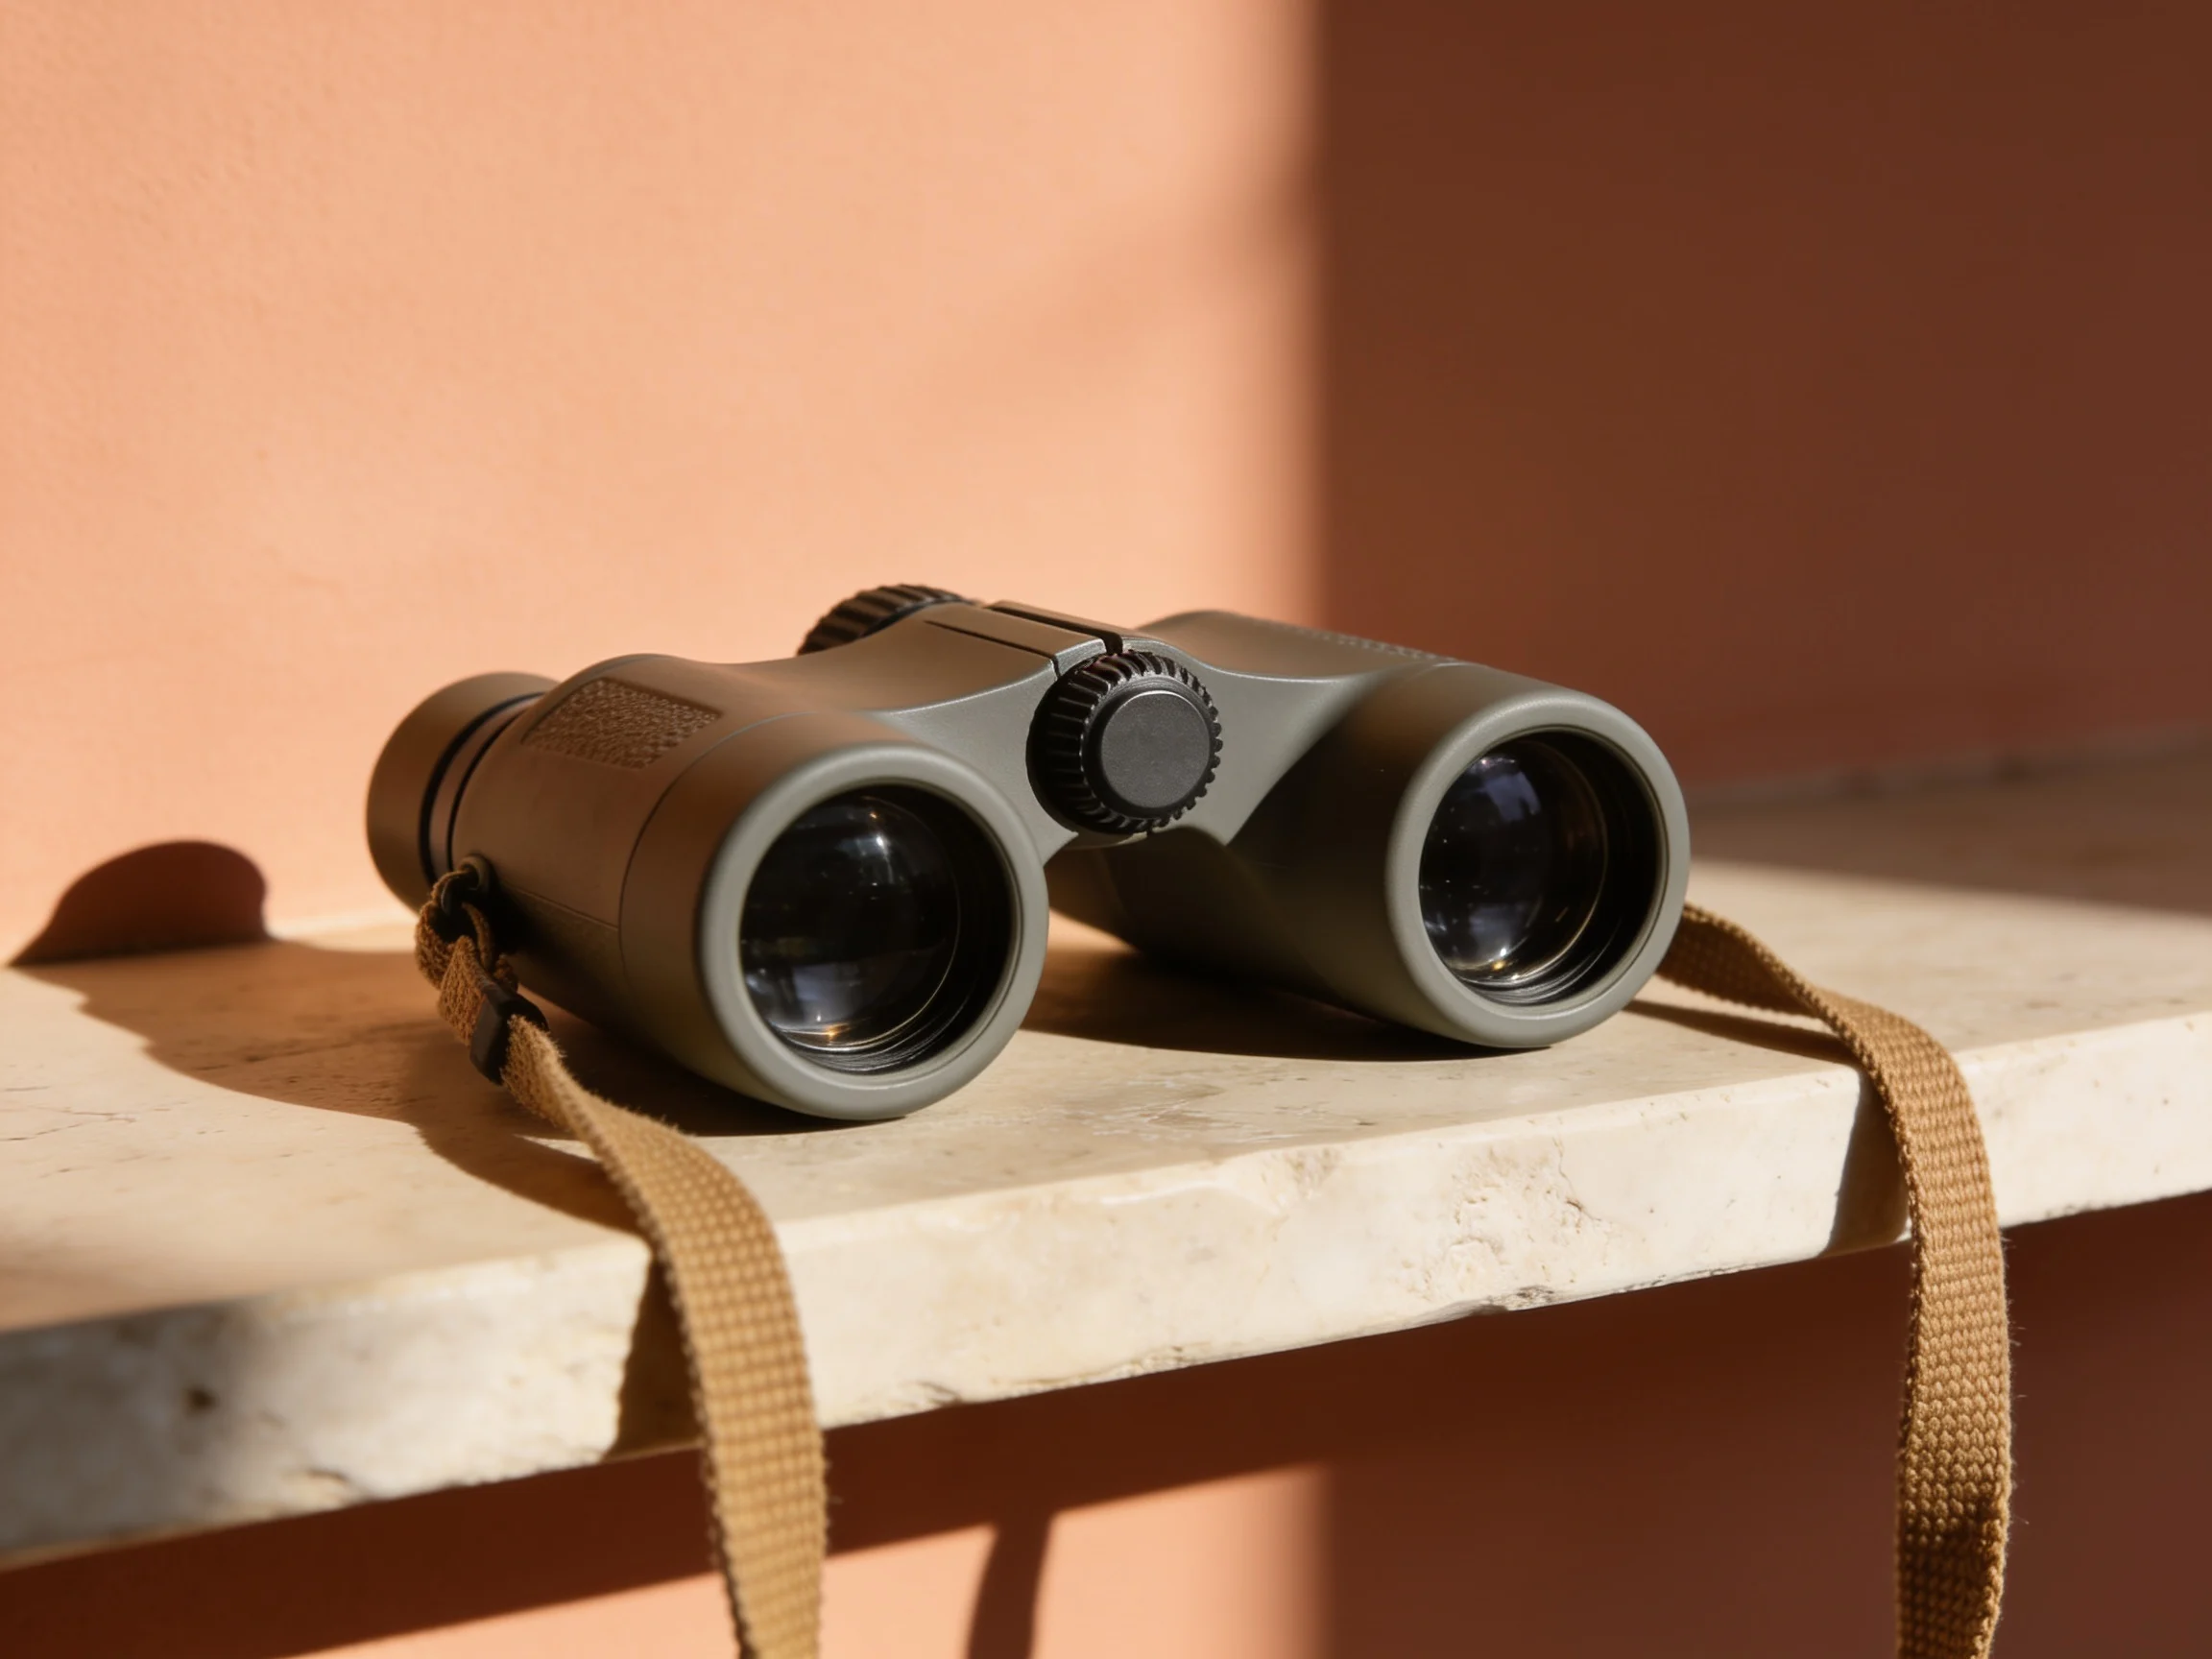
Original imageThe first Seedream 4.5 image used as the editing reference.
A different material and settingSeedream 4.5 changes the body color and setting while keeping the binoculars recognizable. Lighting and shadows also change.
Edit with references
Use references to explain what should carry into the edit
Reference editing accepts one to ten images. Give each source a clear purpose instead of adding pictures simply because more slots are available. One can establish the object, another the material, and another the setting. Describe how these contributions should fit together and what should remain recognizable. The output is newly generated, so details may change across the whole image. Keep the sources and compare them with the result, especially when an edit needs to preserve a product, person, or precise arrangement.
Begin with the most important source
Choose a clear first reference that explains the main subject or composition. Check its lighting, crop, and detail before uploading. If the object is partly hidden or very small, the model may have to invent missing features. Use images you have permission to edit and remove irrelevant personal information from the frame. A useful source makes it easier to decide whether the result has kept the aspects that matter to your brief.
Give additional references different jobs
Add another image only when it supplies information that the first one does not. You might combine a product photograph with a material sample or a setting reference. Explain the contribution of each image in the same order as the uploads. Avoid giving conflicting examples without saying which features should take priority. After generation, check whether the intended details came from the correct sources and whether unwanted features crossed between them. Remove unnecessary references when the direction becomes difficult to assess.
Describe the change and the preserved features
A focused edit is easier to evaluate than a request to improve everything at once. State the main change, such as replacing a background or changing a surface finish. Then identify the subject's shape, viewpoint, or arrangement that should stay recognizable. Inspect areas outside the requested change, including shadows and reflections. A result can follow the material direction while also altering an edge, hinge, or label. Compare those details before using the image in a setting where accuracy matters.
Choose a 2K or 4K preset for the next step
The output controls offer 2K and 4K presets. Choose a size around how you plan to inspect or use the image. A larger preset can provide a larger file, but it does not guarantee correct anatomy, spelling, or reference consistency. The final shape and pixel dimensions depend on the generated result; this workflow does not provide a separate custom-pixel or aspect-ratio control. Check the actual downloaded dimensions before placing the image in a design with strict size requirements.
Version and cost
Keep version, result, and cost clear
Review the model, output and estimate before starting.
Choose the version deliberately
This page uses Seedream 4.5. Seedream 5.0 has a separate page with its own Pro and Lite options and settings. Do not assume that an example or option from one version describes the other. Review the selected version before generating and compare results against your own task.
Check the output and credits
Each request here produces one image. Preparing a draft does not spend generation credits, while a new generation or revised attempt has its own cost. Check the displayed estimate and available credits before continuing. Download the result and confirm its file format and dimensions before using it in another tool.
From brief to image
How to prepare a Seedream 4.5 image
01
Choose text or reference editing.
Describe a new scene, or add one to ten useful sources. Decide what each reference should contribute before uploading.
02
Write the result you want.
Explain the subject, layout, light, and any short text. For an edit, separate the change from the details that should remain recognizable.
03
Select the output preset.
Choose 2K or 4K around the next use, confirm the model version, and review the credit estimate before generating.
04
Inspect and download.
Check spelling, object structure, faces, and reference consistency. Verify the dimensions and finish precise layout work in an editor when needed.
Plans for image and video
Pricing
Annual plans are billed upfront. The same plan credits refresh every 30 days and expire at the end of that window; unused subscription credits do not roll over.
Free
$0/ month
Explore the workspace and prepare a first request before choosing a paid plan.
No. This page selects version 4.5. Seedream 5.0 has its own page and version choices. Check the model and settings instead of assuming that examples or controls apply across versions.
02How many reference images can I add?+
Reference editing accepts one to ten images. Use the smallest set that explains the task and describe each image's contribution in upload order. Text-to-image needs no reference.
03Does a larger preset preserve details better?+
A larger file does not guarantee correct spelling, anatomy, or identity. Compare important details with your sources and assess consistency separately from image size.
04Can I choose an exact width and height?+
This workflow offers 2K and 4K presets, without a custom-pixel control. Check the output's actual dimensions and crop or resize it in your editing tool if your final placement requires an exact size.
05How much does one image cost?+
A single output currently costs 10 credits for text-to-image or reference editing. Review the estimate before generating. A revised request is another generation with its own cost.
Your next image
Prepare your next image
Choose a clear visual task, add references when they help, and describe the result you want to inspect. Review the version, preset, and credits before continuing.