Explore a new scene from words or use one picture as a starting point. Describe the image you want, choose the available output settings, and check the estimate before generating.
0 / 5000
Prompt, files, and settings stay in this browser for 24 hours.
The exact credit amount is shown before generation.
Finished images will be delivered privately to your account.
Made with Z-Image Turbo
Explore material, lettering, and resemblance
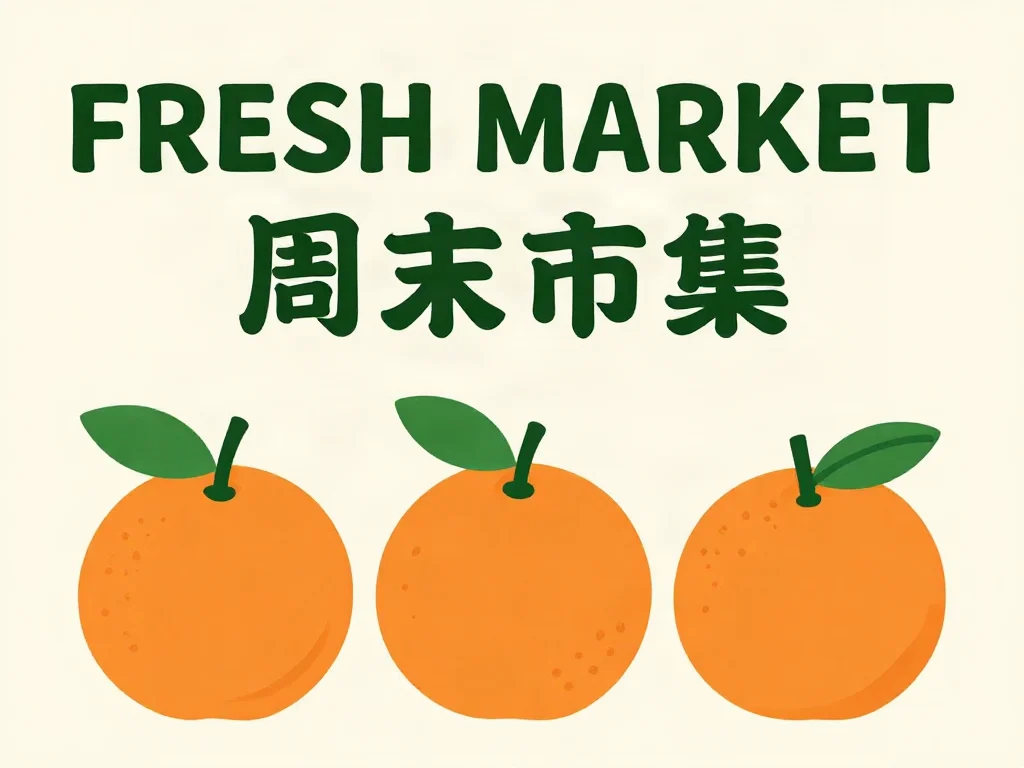
Short bilingual letteringThe requested English and Chinese headings are readable in this sample. Check every character in your own result.
Build a visual brief
Give an image idea a clear visual direction
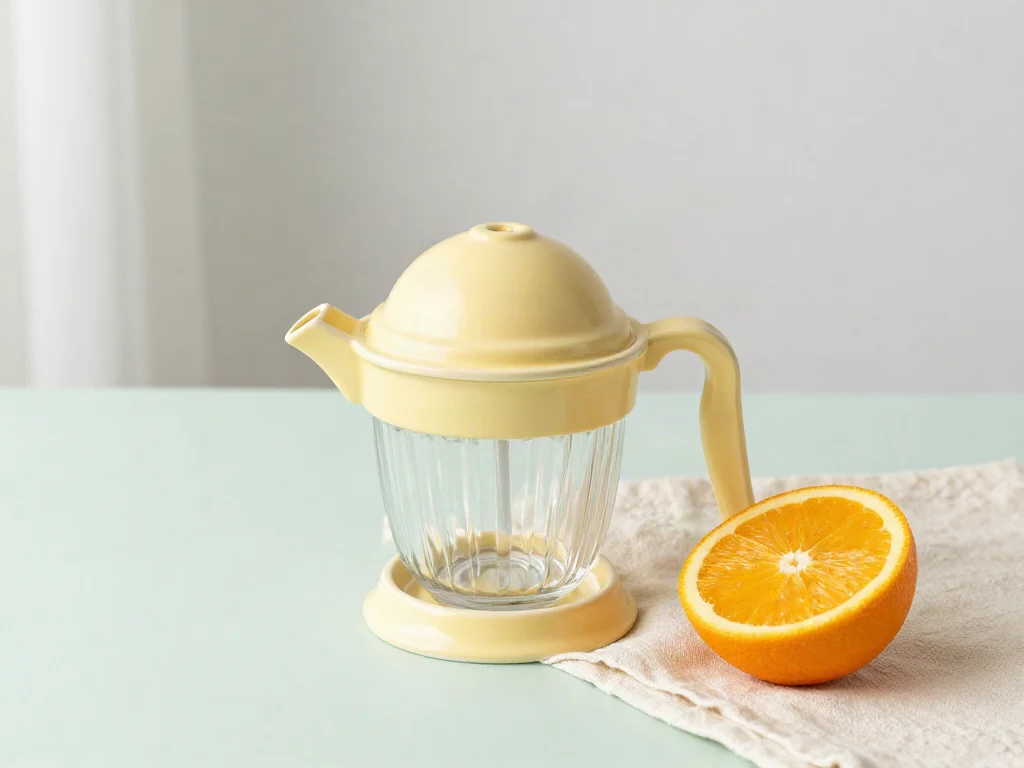
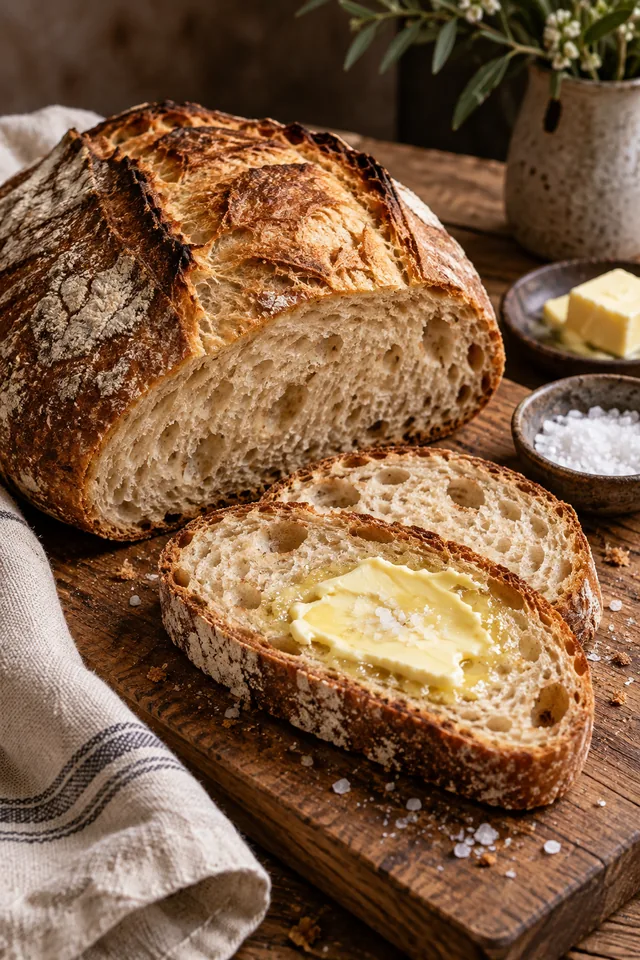
Z-Image Turbo is an image model developed by Tongyi-MAI. Use it to explore a still-image concept: a studio object, a photographic scene, a paper illustration, or a composition with short lettering. Begin with the decisions that matter to the result, such as the subject, viewpoint, light, and space around the main object. A useful prompt explains how these choices work together. Judge the output against that brief, including the details that would make it unsuitable for your next step, rather than relying on its overall polish.
Make a product easy to recognize
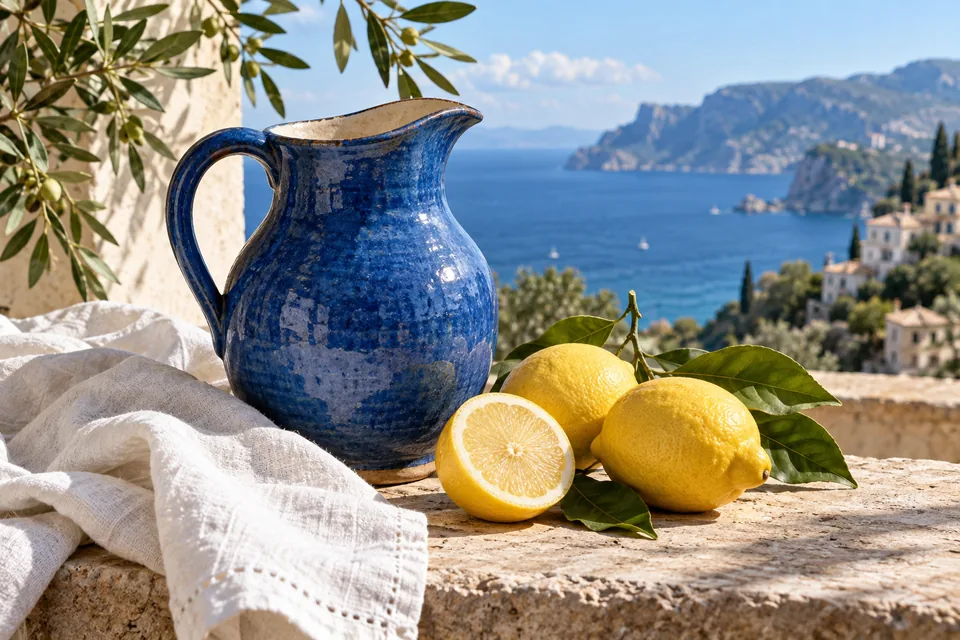
Describe the object's shape, material, and important attachments before describing the surrounding scene. A compact radio might need a visible dial, a fabric speaker panel, and a clearly separated handle. Give it a surface and lighting direction that help those features stand out. If the picture will represent a real item, compare every important detail with the actual product. Generated controls, labels, proportions, or materials can differ from reality even when the image looks like a convincing photograph.
Build a photographic mood with light
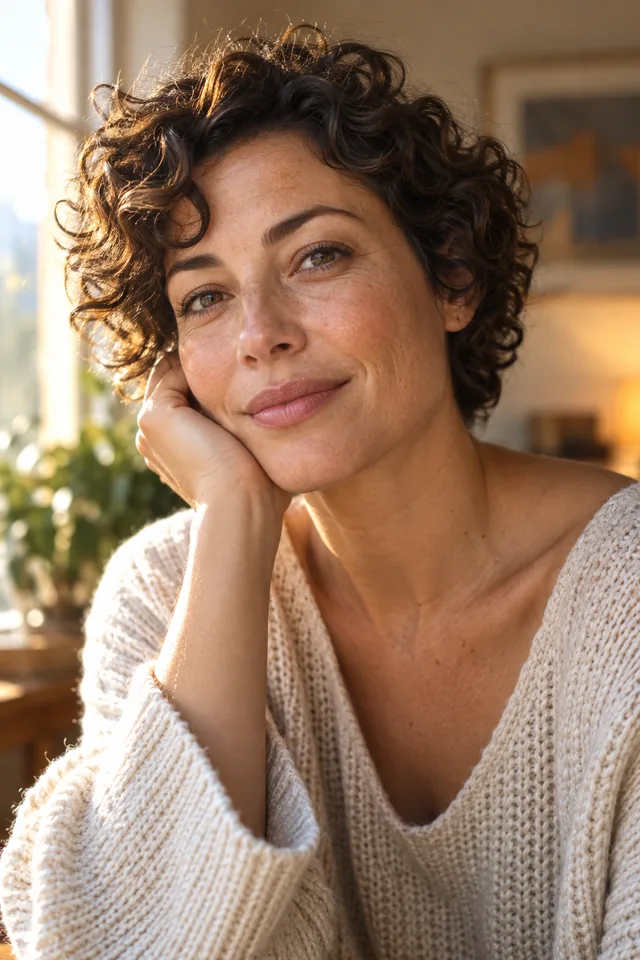
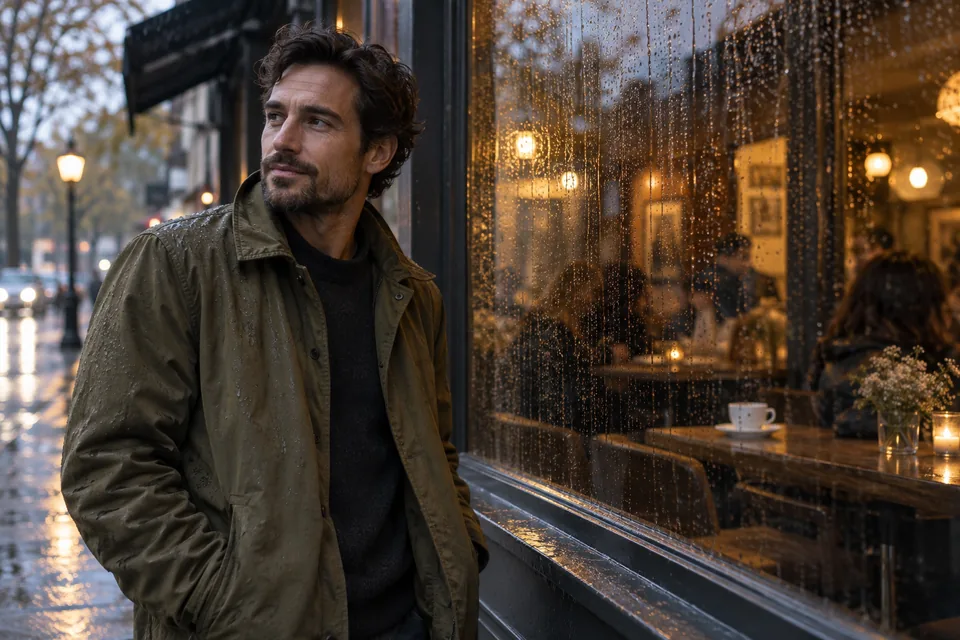
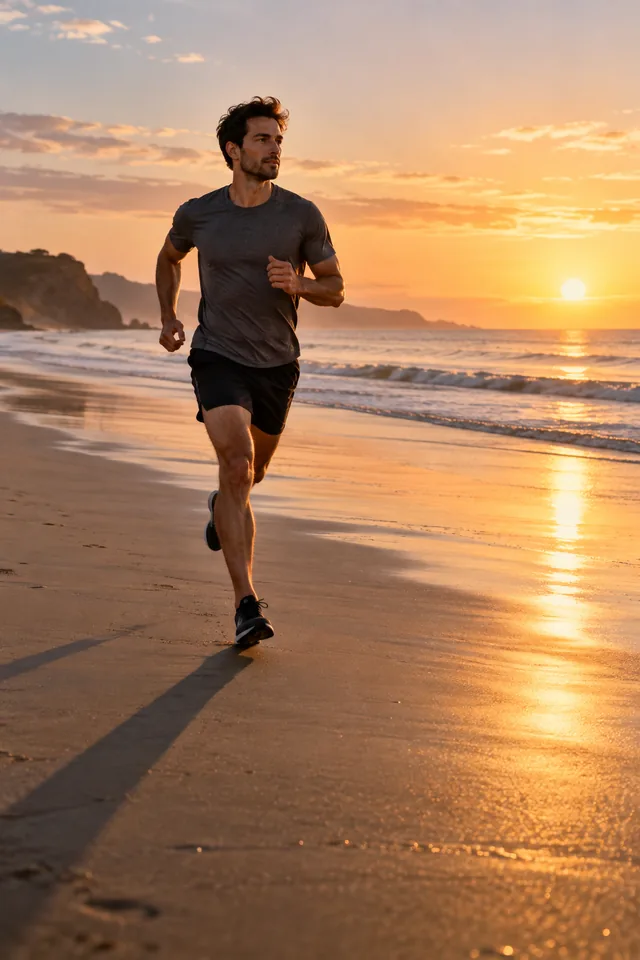
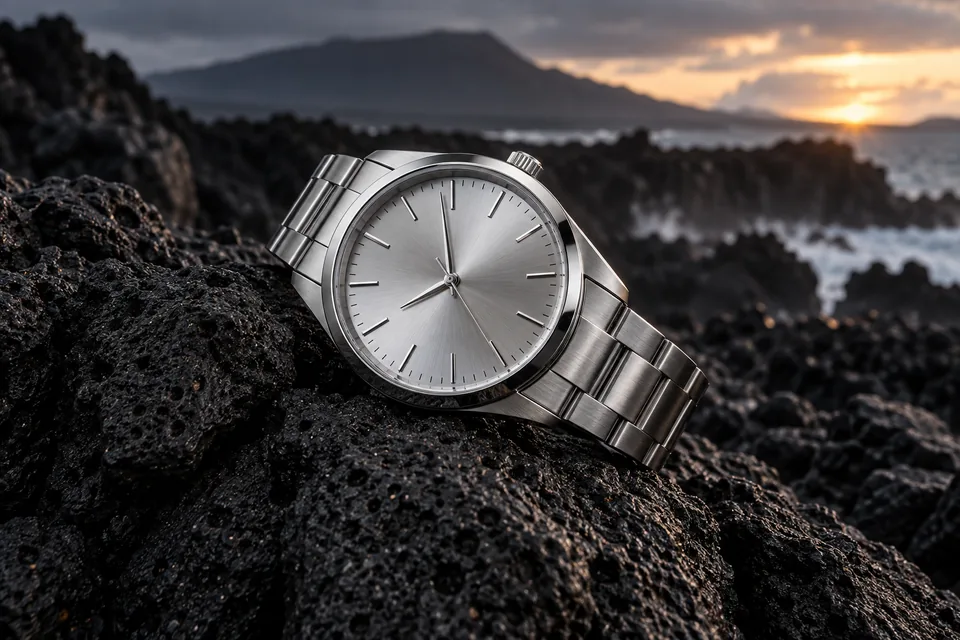
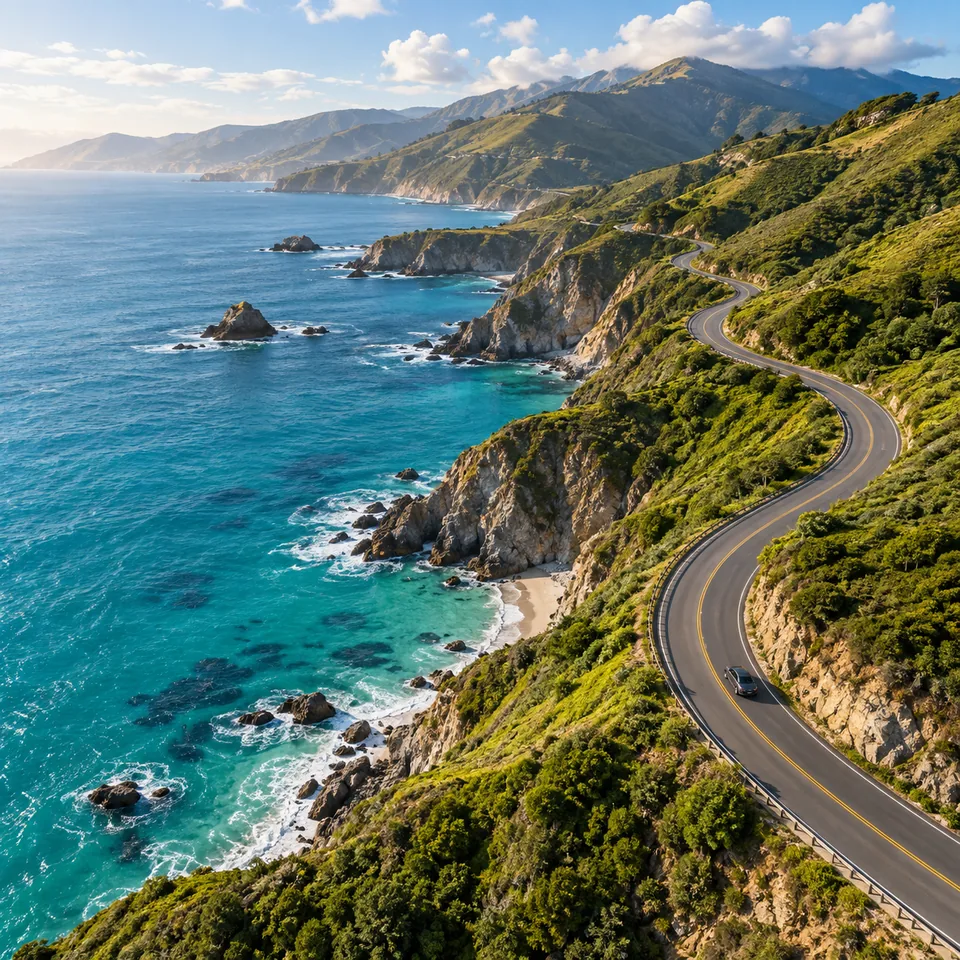
Explain where the light comes from and what it should reveal. Soft window light can show surface texture; low evening light can create long shadows; an overcast setting can reduce harsh contrast. Add the camera distance and viewpoint when they affect the composition. For scenes with people, review faces, hands, poses, and interactions at a useful zoom level. A photographic style is an appearance, not evidence that the people, place, or event shown in the image actually exist.
Use a restrained illustration brief
Choose a visual medium and a few compatible colors. A paper-cut landscape can use visible layers and simple silhouettes, while an ink illustration can rely on line weight and open space. Describe the relationship between the main elements instead of adding a list of unrelated styles. Check repeated objects, overlaps, and perspective after generation. The strongest result for a small card or article header may be the one that remains readable at a reduced size, rather than the one with the most detail.
Keep generated lettering short
Provide the exact words and explain their position relative to the subject. A single heading or a few labels are easier to check than a long paragraph. If you need text in more than one language, separate the phrases and identify where each belongs. Inspect spelling, punctuation, character shapes, and unwanted background lettering in the result. For final typography, legal wording, or other text that must be exact, add or replace it in a design editor after generating the visual.
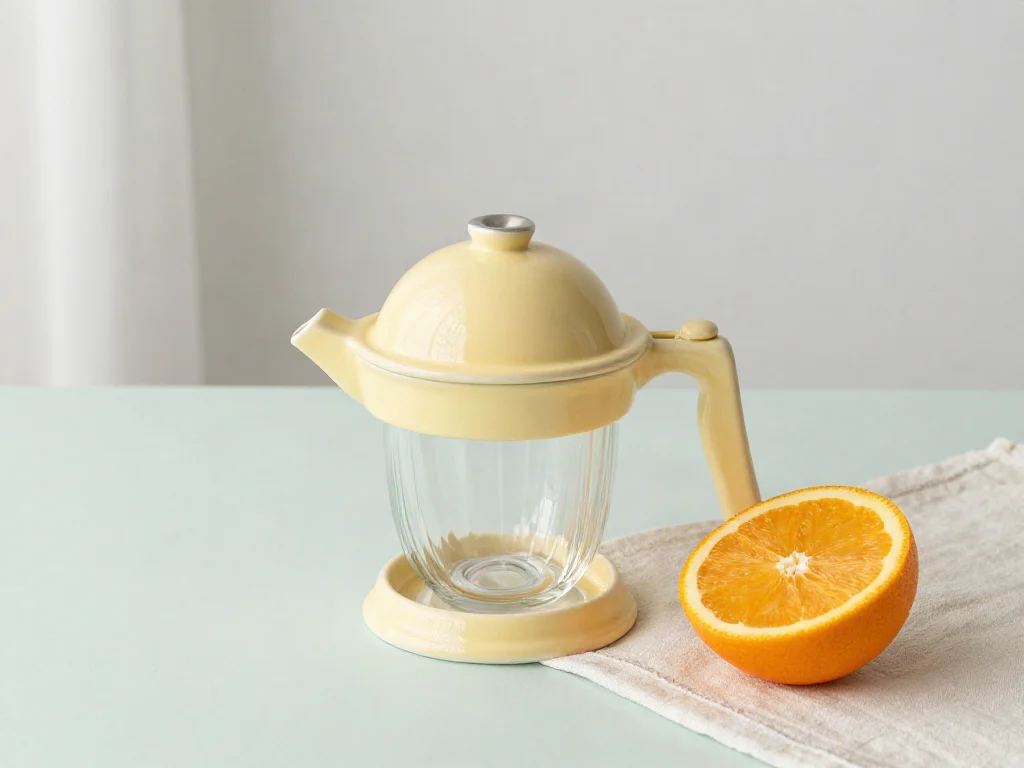
Starting imageThe first Z-Image Turbo image used as the single source for transformation.
A transformation with limitsAt strength 0.6, the arrangement stays similar and details change. The requested terracotta surface and blue wall were not followed.
Start from one picture
Transform one starting image
The image-to-image workflow uses one source picture together with your description. It can help you explore a different appearance, material, setting, or illustration style while starting from an existing composition. This is a newly generated version of the image, not a guarantee that selected pixels or objects will stay untouched. Keep the original and decide which features you will compare afterward. When a change must be limited to an exact area, use a dedicated editing tool rather than assuming that a written instruction creates a precise selection.
Pick a source with readable details
Use a clear image in which the relevant subject is large enough to inspect. Look for hidden edges, heavy compression, confusing shadows, or objects cut off by the frame. The model may invent details that the source does not explain. Remove irrelevant personal information and use material you have permission to edit. A clean reference makes it easier to judge whether the new version has kept the subject's recognizable shape, arrangement, and important features.
Separate the requested change from the constants
Write the main change first, then identify what should remain recognizable. For example, ask for a different surface finish while keeping the object's silhouette and viewpoint. Avoid combining several unrelated revisions before you have inspected a first result. After generation, compare the whole image with the source, including shadows, edges, and background objects. A successful color change can still come with a moved attachment or an altered label that makes the output unsuitable for its intended use.
Treat transformation strength as a creative tradeoff
When adjusting the strength setting, think about how far you want the result to move from the starting image. A stronger transformation can give the prompt more room to change the appearance, while a gentler one can be a useful starting point when resemblance matters. Neither direction guarantees exact preservation. Change one setting at a time and inspect the result before making another request. Keep notes about the source and settings so that differences are easier to evaluate.
Choose an output for the next tool
PNG, JPEG, and WebP serve different delivery needs. Choose a format that the next editor or destination accepts, and check the downloaded file before sharing it. Selecting PNG does not itself request a transparent background. Choose the available frame or size around the final placement, then inspect the actual dimensions. A larger image cannot repair incorrect spelling, anatomy, or object structure; those are separate decisions to review before cropping, resizing, or publishing.
Review before using
Compare the result with the job
Evaluate the image against your brief, including the details that did not follow it.
Keep the model and task clear
Z-Image Turbo is not interchangeable with every other model carrying the Z-Image name. This workspace provides the workflows and settings shown here; it is not a local installation, a training interface, or a multi-reference editor. A polished result can still contain an invented product feature or miss a requested background change.
Check the cost of each request
Each request creates one output. Drafting a prompt does not spend generation credits, while a new generation has its own cost. Review the displayed estimate and current availability before continuing. Download the result and check its dimensions, file format, and suitability before placing it in another project.
From idea to image
How to prepare a Z-Image Turbo image
01
Choose a starting point.
Begin with a description for a new scene, or add one clear source image for a transformation. Identify the details that will determine success.
02
Describe the result.
Explain the subject, framing, light, and style. Keep exact wording short. For image-to-image, separate the intended change from the features to preserve.
03
Review the available settings.
Choose the frame, output format, and relevant transformation options. Check the credit estimate before starting a generation.
04
Inspect and download.
Compare important details with the brief or source. Check actual dimensions and finish precise typography or local corrections in an editor when necessary.
Plans for image and video
Pricing
Annual plans are billed upfront. The same plan credits refresh every 30 days and expire at the end of that window; unused subscription credits do not roll over.
Free
$0/ month
Explore the workspace and prepare a first request before choosing a paid plan.
No reference is needed for text-to-image. The image-to-image workflow starts from one picture and a description of the desired transformation. Choose the approach around whether you already have a composition to work from.
02Can I combine several reference pictures?+
This workflow uses one starting image. It does not combine multiple uploaded references. Choose the source that communicates the most important subject and arrangement.
03Does Turbo mean a fixed completion time?+
No completion-time guarantee is offered here. The time shown by a model demonstration does not include every part of a real request. Follow the progress shown in the workspace and avoid starting duplicates while a request is still running.
04Is the generated text ready to publish?+
Read every word and character before using it. Lettering can be misspelled, repeated, or distorted. Add final text in an editor when wording and typography need to be exact.
05How do I check the price?+
Review the estimate for the selected settings before generating. Each new request has its own cost. Preparing the prompt and comparing settings does not itself start image generation.
Your next image
Start with a picture you can judge
Choose one visual task, explain the details that matter, and review the settings. Keep the brief and any source image available so you can evaluate the result clearly.